Appearance
The window at a glance
Five areas, always in the same places. Learn where they are once and the rest of the manual is a matter of detail.
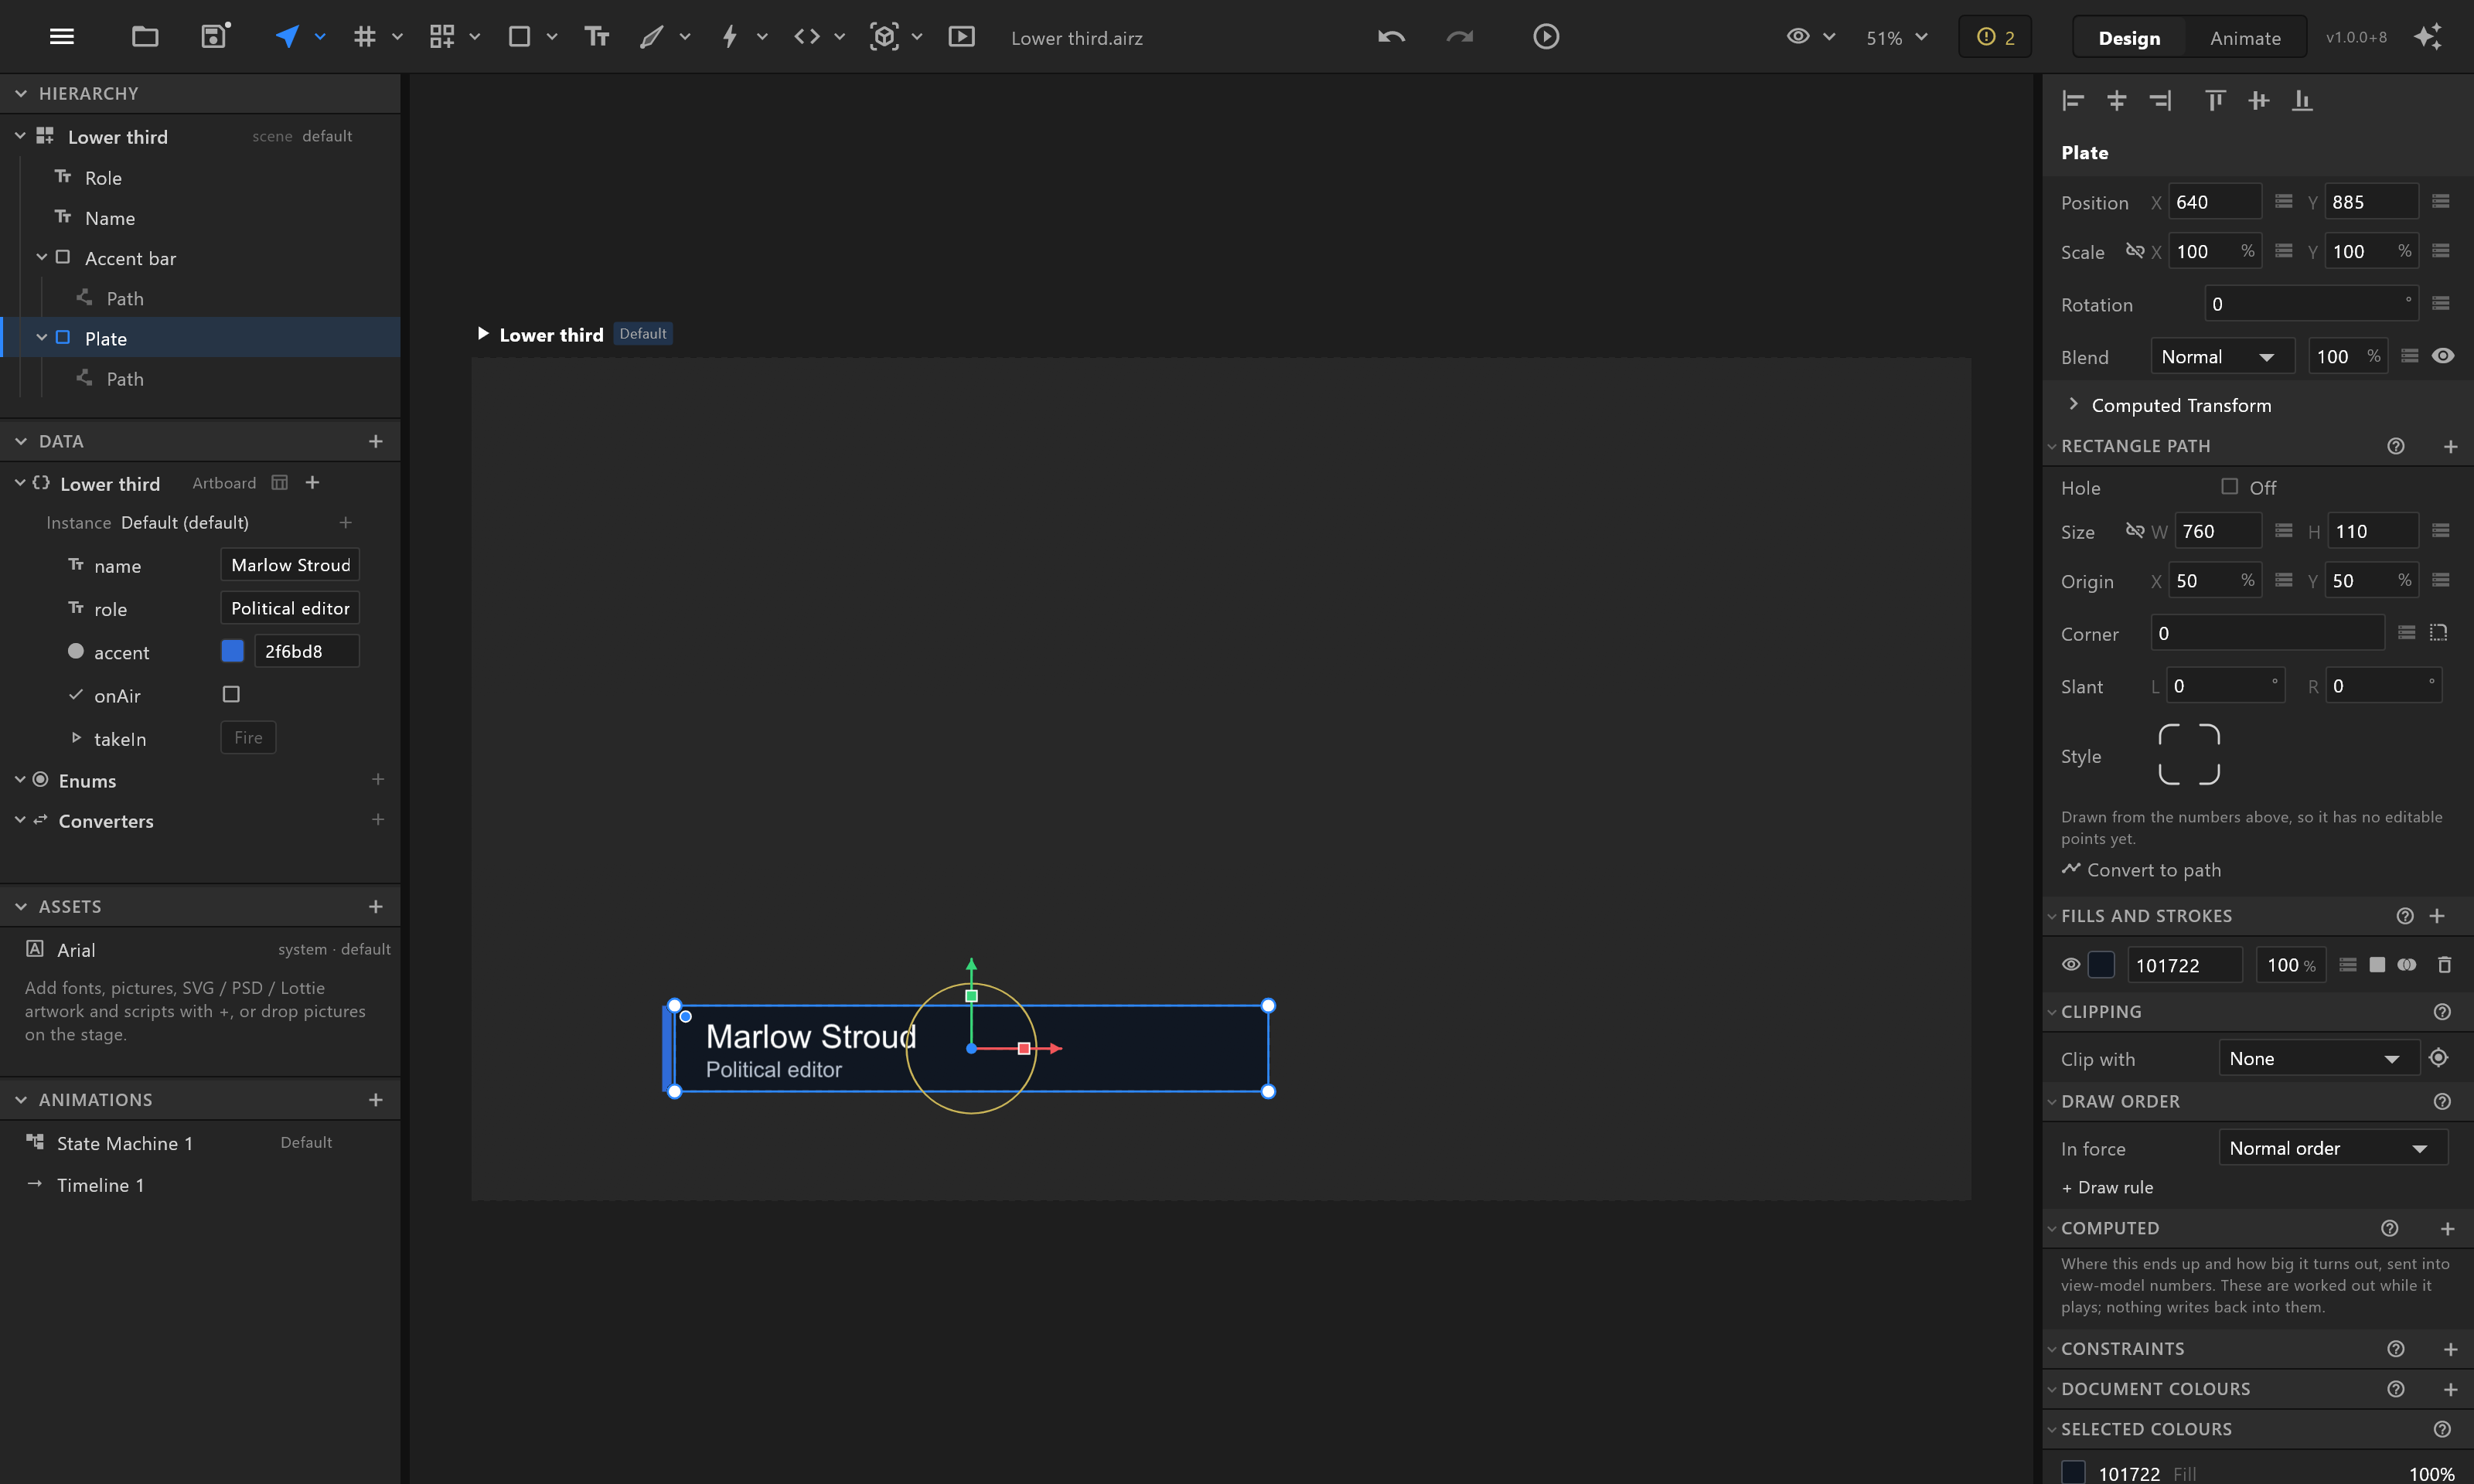
The five areas
| Area | Where | What it is for |
|---|---|---|
| Top bar | Across the top | The File menu, the tools, the document's name, undo and preview, what you are looking at, preflight, Export .riv, and the Design / Animate switch |
| Left sidebar | Down the left | Four sections: the Hierarchy of objects, the Data the graphic is driven by, the Assets it carries, and its Animations |
| Stage | The middle | Where you draw and arrange. Every artboard is here, side by side |
| Inspector | Down the right | Everything about what is selected. It changes completely with the selection |
| Timeline | Along the bottom, in Animate mode | When things change. With Animation States open, its graph takes this place |
Design and Animate
The switch at the right of the top bar changes what the window is for.
- Design is for building: drawing, arranging, binding. Changes are the graphic's starting point.
- Animate is for movement: the stage gets a blue frame and a tag naming what you are animating, and the timeline opens along the bottom. With auto-key on — the red dot — moving something on the stage writes a key.
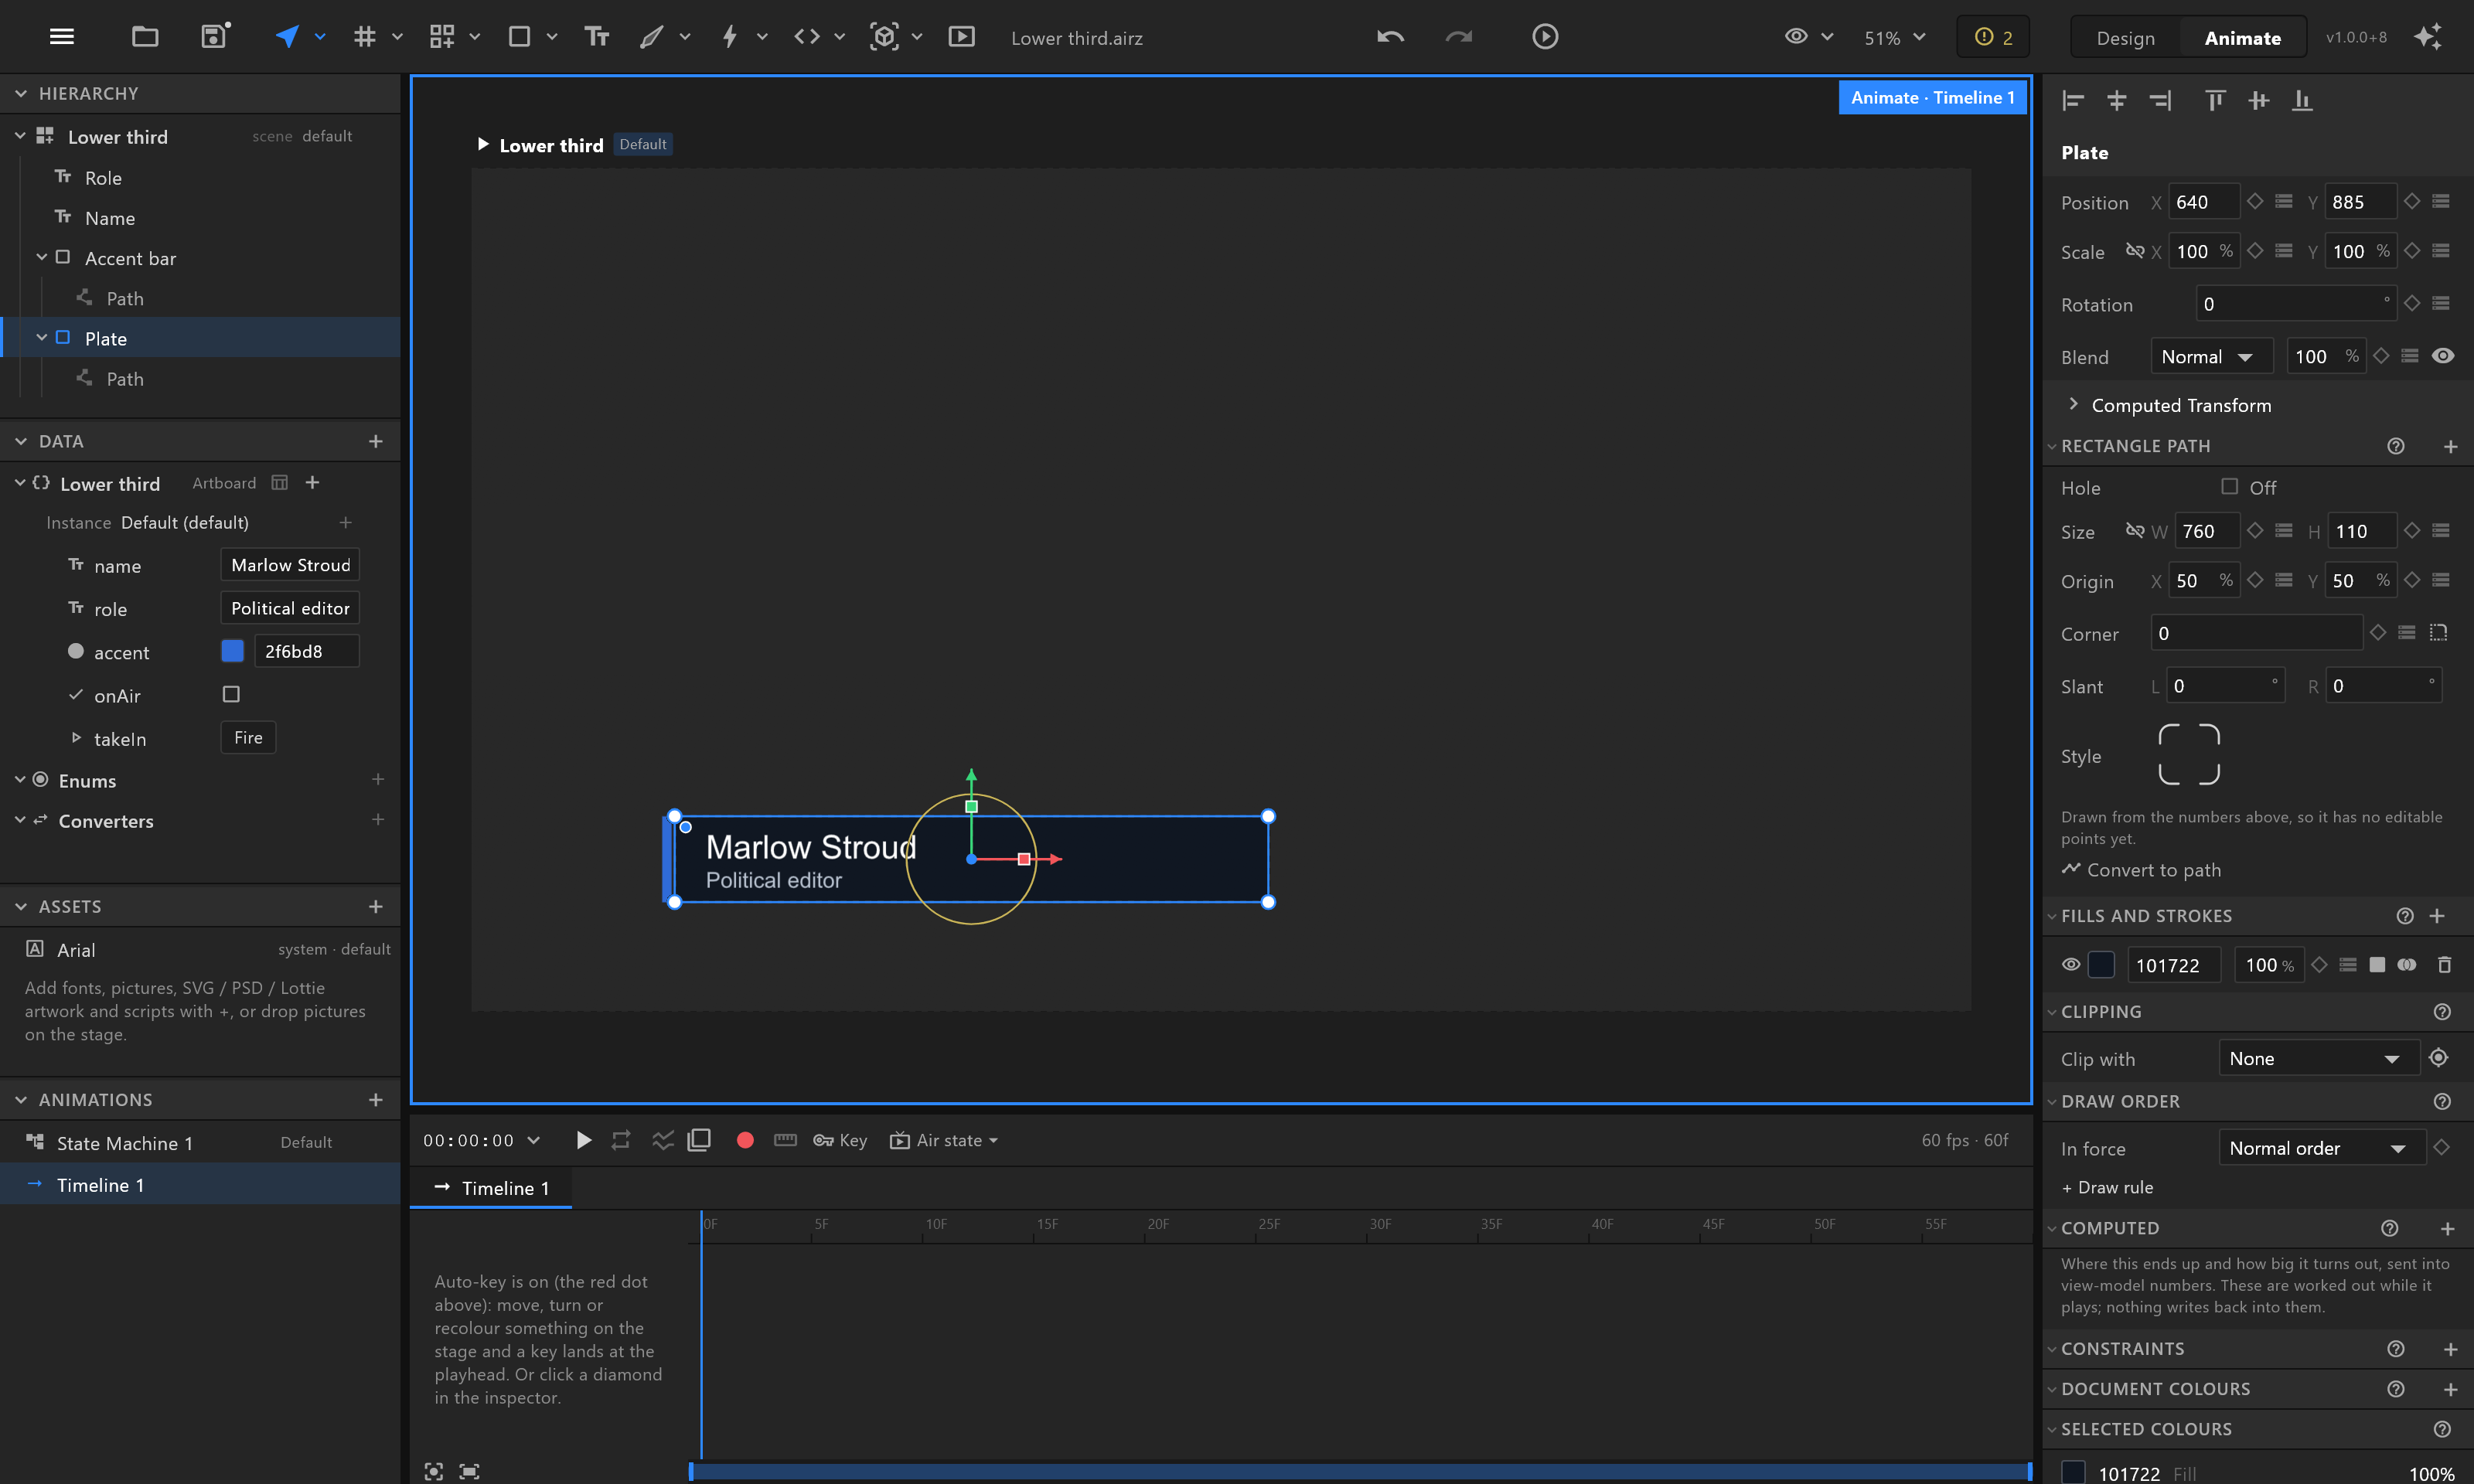
Making room
- Drag the edge of any panel to resize it; sidebar sections fold to their headers. See Arranging the panels.
Ctrl+\hides both side panels for a bigger stage, and brings them back.- The editor remembers your arrangement for next time.
Help where you are
A small ? sits in the title of each dialog, on each inspector section's header, and beside each preflight finding. Click it, "Open this in the manual", and your browser opens the page about that very thing. File › Manual opens the manual at its start.
See also
- Your first scene
- The interface, panel by panel