Appearance
Materials
What a 3D object is made of: its colour, how shiny, how metal, whether it glows — or a picture, a live video, or a moving look drawn on it. One material can dress many objects.
A material is set in the selected object's Material section. There is no separate materials panel: a material lives where it is used.
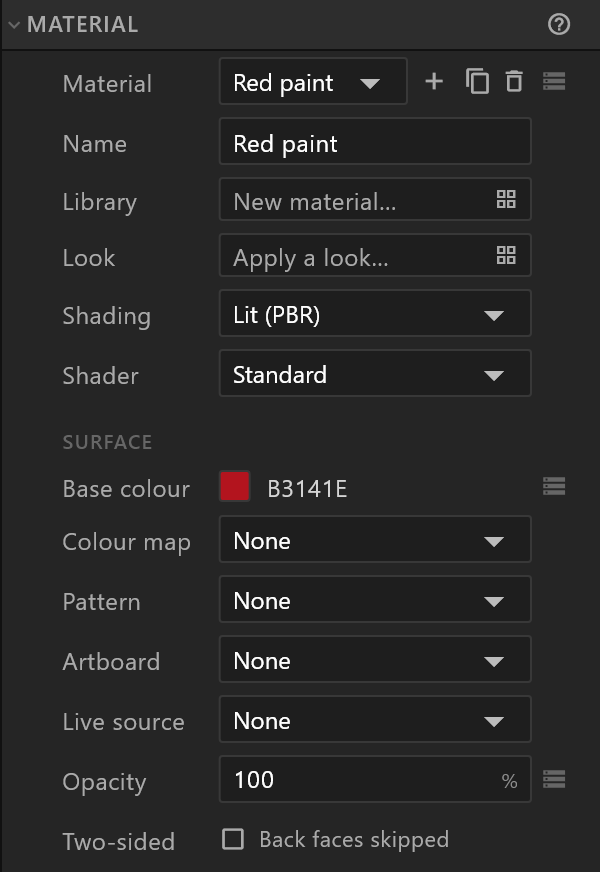
Choosing and making one
| Control | What it does |
|---|---|
| Material | The object's material: Default grey, or any in the document |
| + | A new material for this object, named Material, Material 2… |
| New material… | A new material made from a look in the library — see below |
| Duplicate (the copy icon) | An exact copy of the material, with every value and map, for this object alone. It is named after the original: Wood 2, then Wood 3. One undo step |
| The bin | Deletes the material. Objects that used it, and keys that chose it, go back to the default grey |
| Name | Renames it |
When several objects use one material, the section says "Shared by N objects: a change here changes all of them. To change this one alone, duplicate the material (beside its name above)." Duplicate gives the selected object its own copy, and the others keep the original. Keys already on the original stay with the original.
For example, to make one button change colour on hover while the others share its look: select it, Duplicate its material, then key the copy's colour in a Hover timeline, or bind it to a property.
Switching material in an animation or from data
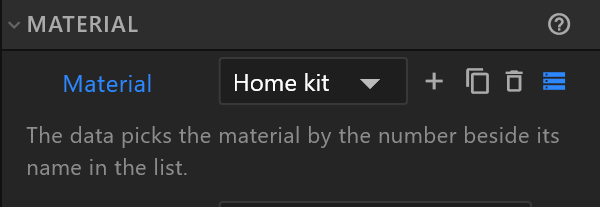
The Material row itself can be keyed and bound, like the rows below it.
- Keyed: in Animate mode, pick a material in the Material row at the playhead, and that is a key. The object switches exactly at the key, with no fade between the two. The section shows the material at the playhead. For a fade, use two objects and key their opacity against each other. On the timeline, the track writes each material's name across its span: "Copper" until the next key, then "Chrome". A span too short for its name stays blank.
- Bound: the bind button on the Material row binds it to a number in the data, and the number picks the material. The open list then shows each material's number before its name, such as 0 · Copper, and -1 is the default grey. The row itself shows the name alone; hover over it for the full name. A number that names no material leaves the object with its own.

For example, a team's kit colour picked by a number from airZ Controller, or a "breaking" look keyed in a state.
The library of looks
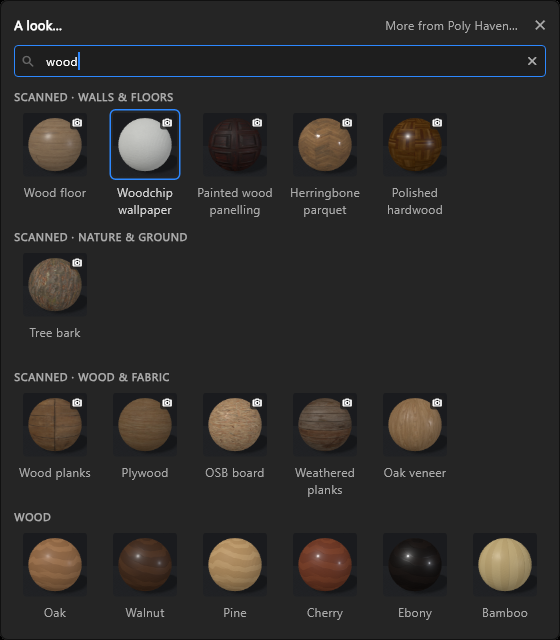
New material… opens A new material from a look: 200 ready materials in groups — Metal, Plastic, Glass, Coated, Light, four groups of scanned looks, then Wood, Stone, Fabric, Patterned, Displaced, Food and Flat — Chrome, Car paint, Velvet, Oak, Marble, Neon red and the rest. Click one to make a new material from it.
Scanned looks are photographs of real surfaces, 72 in all, under four headers: Scanned · Walls & floors, Scanned · Metal, Scanned · Nature & ground and Scanned · Wood & fabric. Type "scanned" in the search to see them all. A camera mark in a card's corner shows a photo material, and its tooltip gives its full name and how much it adds to the file, for example "Photo material · adds about 5.1 MB to the file".
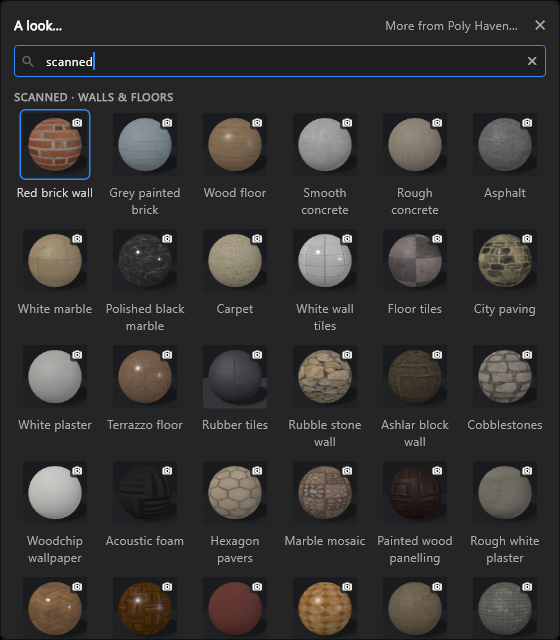
Two are see-through, Wire mesh fence and Perforated metal: their tooltip says "see-through", and their card shows the panel in front of a light background. Applying one makes the material two-sided and cut out, so what is behind shows through the holes; applying a solid scanned look afterwards turns that off again.
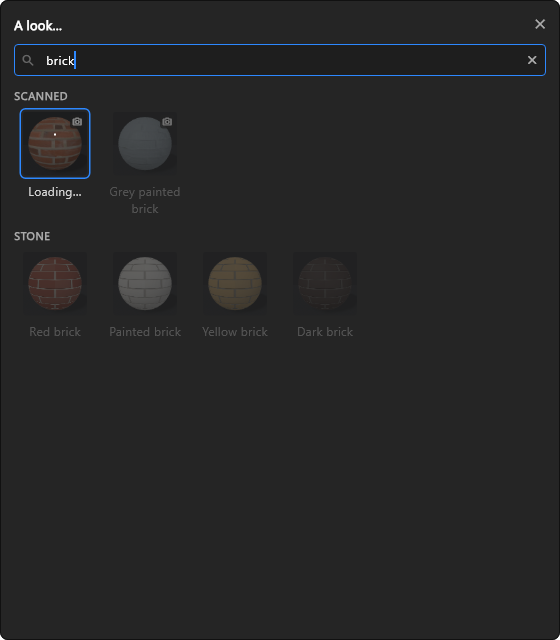
Picking a scanned look takes a moment: the picker stays open, the card says "Loading…" and the others dim, and it closes when the look is on. Esc cancels the load. It is one undo step. The look adds three pictures to the document, which you will find in Assets: the look's name · colour, · normal and · surface (the last carries its shine and relief). If the pictures are missing from this installation, a line under the grid says so.
The photographs come from Poly Haven and ambientCG, free to use under CC0.
Apply a look… puts a look's values on the material the object already has, keeping its maps. Undo takes it back.
Search sits at the top of the look picker, here and in the 2D paint menu's Material look…, and is ready to type in as soon as the picker opens. It finds looks by name, by group and by what they are: a colour, metal, shiny or matte, glass, glow, patterned. Type "gold", "red shiny", "floor" or "fabric": every word must match, in any order, and a half-typed word already counts ("red shin"). Groups with nothing left hide.
A blue ring marks the look Enter will take: the first result, until you move it. ← and → move it through the results, ↑ and ↓ a row up or down, into the next group and back. The × at the right of the field clears the search, as does Esc; a second Esc closes the picker.
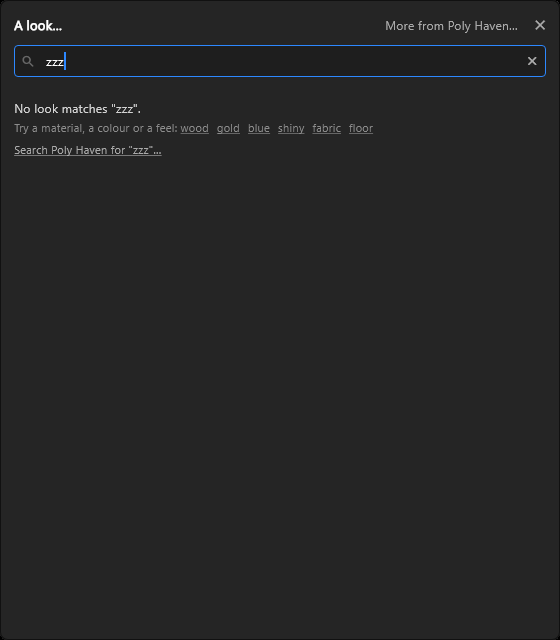
When nothing matches, the picker says so and offers words to try (wood, gold, blue, shiny, fabric, floor); click one to search for it.
More from Poly Haven
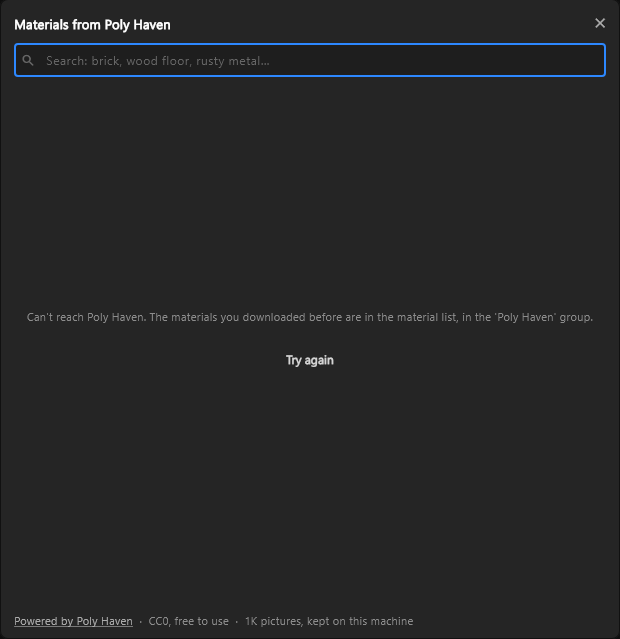
At the top right of the look picker, opened by New material… or Apply a look…, More from Poly Haven… opens Materials from Poly Haven: about 860 more photo materials, free to use under CC0, the most used first. When a search in the picker finds nothing, its last line, Search Poly Haven for "…", opens the same window with your words already in its search. Search it by name or kind, such as "brick", "wood floor" or "rusty metal". It needs an internet connection.
Hover over a card to see what it costs: "Downloads about 1-2 MB; adds about 5.1 MB to the file". Picking one downloads its pictures, the card spinning while the rest dim, and applies it like a scanned look. Esc during the download cancels it; a second Esc closes the window. If the download fails, the window says so; check the connection and pick it again.
The pictures travel inside your file, so it opens the same on another machine. What you download also stays on this machine: a ✓ marks it in the window, and it waits in the look picker's Poly Haven group, offline too. Without a connection, the window says so and points you to that group; Try again asks for the list once you are back online.
Shading
Shading is Lit (PBR) — lit by the scene's lights and sky, like a real surface — or Unlit: the colour as picked, which ignores the lights: for screens, signs and flat graphics.
Surface
| Row | What it does |
|---|---|
| Base colour | The colour of the surface |
| Colour map | A picture on the surface. Map alpha says what its transparency does: Ignored (opaque), Blends, or Cuts out below a level |
| Pattern | A pattern made by the material, with no picture needed: Honeycomb, Carbon twill, Woven, Tiles, Stripes, Checker, Dots, Knurl, Brushed, Wood grain, Marble veins, Speckle, Brick (a running bond, each brick its own tone) and Planks (staggered boards, each with its own grain). Repeats, Strength and Angle set it, with two rows named for what they colour: Mortar colour and Mortar roughness for Brick, Grain colour and Grain roughness for Planks (the grain and the gaps between boards), Pattern colour and Pattern roughness for the rest. On a timeline or a data bind the colour is always called Pattern colour. Patterns close cleanly around spheres and cylinders |
| Artboard | One of the document's artboards, drawn live on the surface: a graphic on a screen in the set |
| Live source | A live video slot on the surface — see below |
| Opacity | See-through, in % |
| Two-sided | Whether the back faces are drawn |
Finish
For lit materials:
| Row | What it does |
|---|---|
| Metallic | 0 for plastic, paint, wood; 1 for metal |
| Roughness | 0 is a mirror polish; 1 is chalk |
| Clearcoat | A glossy coat over the base: car paint, lacquer. Coat roughness with it |
| Sheen | Fuzz at grazing angles: velvet, cloth. Sheen colour with it |
| Anisotropy | Highlights stretched along a grain: brushed metal |
| Reflection | How much of the scene the surface reflects |
| Mirror | The scene reflected across the surface, as strongly as Reflection says. A studio floor wants it on |
| Shadow catcher | The surface shows only what falls on it — shadows and reflections — so a 3D object can sit on a picture. Needs Ray tracing and Traced shadows on the viewport; Turn both on does it |
| Environment | What the surface reflects: the built-in studio, or a picture |
| Matcap | A picture that sets the whole shading, ignoring the lights |
Glass
Switch Glass on (Light passes through) and light goes through the surface and bends: a bottle, a trophy, a screen. Roughness frosts it.
| Row | What it does |
|---|---|
| Transmission | How much of the light that is not reflected passes through, 1–100 %. Clear glass is 100 %. To turn glass off, use the Glass switch |
| Index | How strongly it bends: water 1.33, glass 1.5, crystal 2.0, diamond 2.42 |
| Thickness | How much glass the light crosses. 0 is thin, like a window or a screen: it does not bend |
| Shape | Once Thickness is above 0, how the glass bends what is behind it. Rounded: ball, bottle works like a lens: it magnifies and turns the view upside down. Flat: panel, block only moves what is behind it a little to the side, as a thick window pane does, and that shift follows the camera. Thin glass bends nothing either way |
| Tint, Tint depth | Its colour, and how far through the glass the tint is reached: a bottle is darker where it is thicker. 0 is no tint by depth |
| Key | What the glass does to the graphic's key, its transparency to the video it is keyed over: Automatic: follows what is behind (a set behind fills the key, nothing behind lets the video through), Solid: fills the key, or See-through: keeps its transparency |
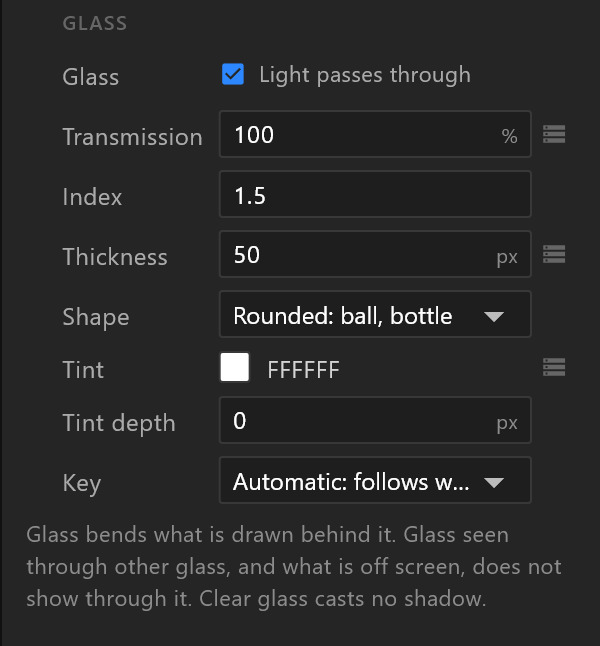
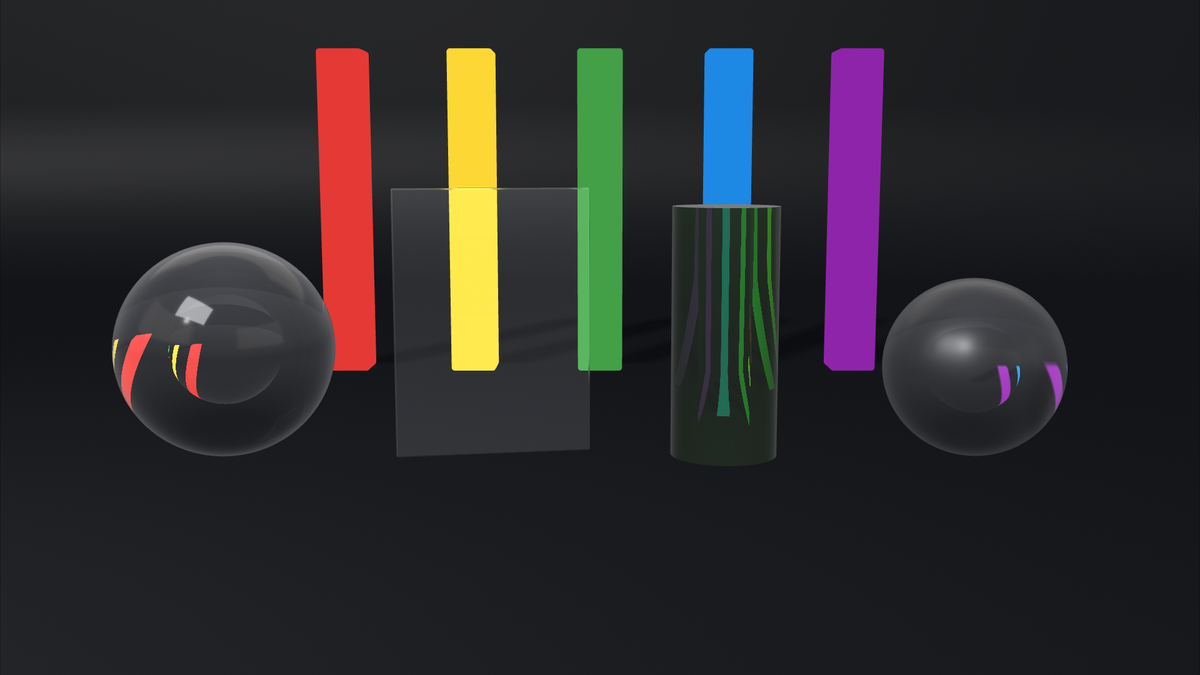
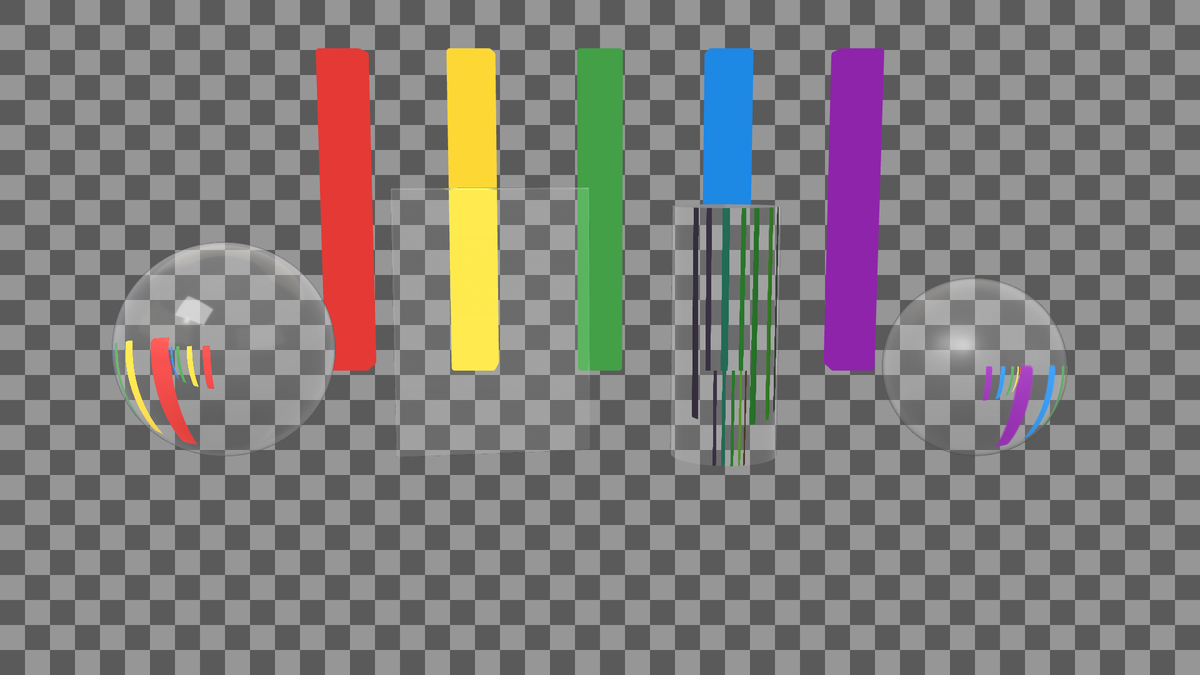
Clear glass casts no shadow, and glass works on every output. As its note says: "Glass seen through other glass, and what is off screen, does not show through it." A glTF model's glass comes in as glass.
Relief
Displace moves the surface itself — Waves, Ripples, Noise, Hammered — by an Amount, at a Scale, and moving at a Speed. The object needs segments for it to show. Lit materials can also take a Normal map, a Height map and an AO map; Map placement offsets, repeats and turns them.
Glow
Glow makes the surface give light: its Colour and Strength (on the timeline, Emission). Above a strength of 1 it is brighter than white, and the viewport's bloom spreads it. A glow can take a Map or a Live source too.
A brand colour that glows turns white at a high strength in a cinematic colour mode; keep it near 1. See 3D viewport › Colour.
Live video on a surface
Live source puts one of the document's live video slots on the surface: a camera on a set screen, a clip on a video wall.
| Row | What it does |
|---|---|
| Live fit | Stretch to the surface, Cover: fill, crop the rest, or Contain: whole frame, black bars |
| Anchor | Which part stays when the fit crops |
| Crop L / R, Crop T / B | Trims the edges, in % |
The picture is fitted to the slot's shape — its placeholder — whatever size the source arrives at.
Shaders and looks
Shader can give a material a moving look instead of the standard shading: From the shader library… opens a library of looks in groups — Transitions, Backdrops, Elements, Studio, Stylise, Toolkit, Data, Film. Each card plays when you point at it, and says what it costs a frame. A small checkerboard badge means the look lights a picture's outline, so it needs artwork with transparency. Picking a look makes the material unlit, with the look's settings as rows you can key.
Shader background (full frame)… in the 3D menu makes such a look the whole backdrop of a graphic.
New custom shader… is for writing a look of your own; it uses the scene compiler that comes with airZ Editor (see Settings). Library looks come ready to use. If a shader's row says "The scene compiler is missing from this installation", reinstall airZ Editor to get it back.