Appearance
Work area
Playing and exporting part of a timeline instead of all of it.
What it does
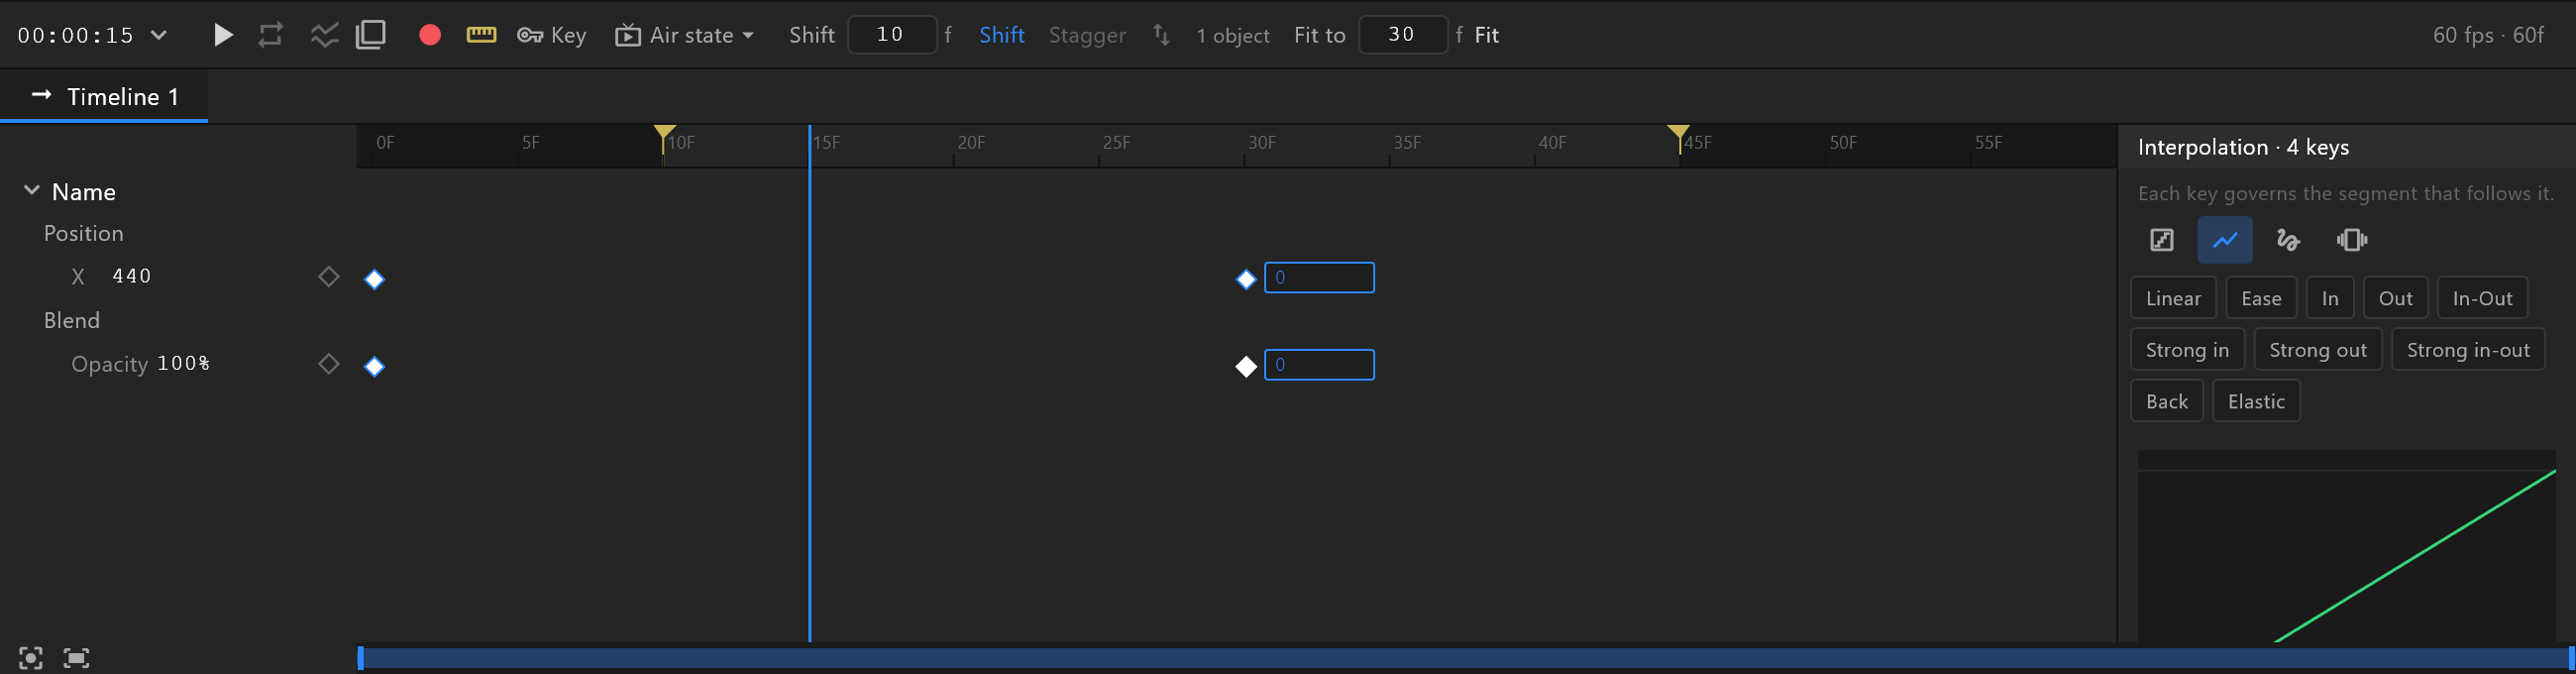
Two markers on the ruler, an in point and an out point. With the work area on, playback runs between them and loops between them, and Stop rewinds to the in point rather than to frame zero.
Turn it on with the ruler button in the transport, or by setting a marker.
Setting the markers
| What you do | What happens |
|---|---|
[ or I | The in point moves to the playhead |
] or O | The out point moves to the playhead |
| Drag a marker on the ruler | Moves it |
Setting a marker switches the work area on if it was off. Marking an out point before the in point pushes the in point along rather than refusing. The two never meet: one frame is the smallest range.
The settings has the same two numbers as fields, for when a range must be exact.
What it is for
Working on the middle of a long animation. Set the range around the part you are building and every play is that part, not the forty frames before it.
Trimming what plays on air. The range travels with the exported graphic, so a timeline with a long tail can be published playing only the part you want — without deleting the rest, which stays in the document.
What it does not do
It does not trim the keys. Everything outside the range is still there, and turning the work area off brings it all back. If you want a shorter animation, shorten the Duration instead.
If the work area is switched on but its range says nothing usable, the exported graphic carries no work area rather than a broken one.