Appearance
3D viewport
A 3D scene inside your 2D graphic: a layer that holds 3D objects, lights and a camera, and draws what the camera sees. It plays in airZ Editor and airZ Engine; other players show the rest of the graphic and the viewport's poster.
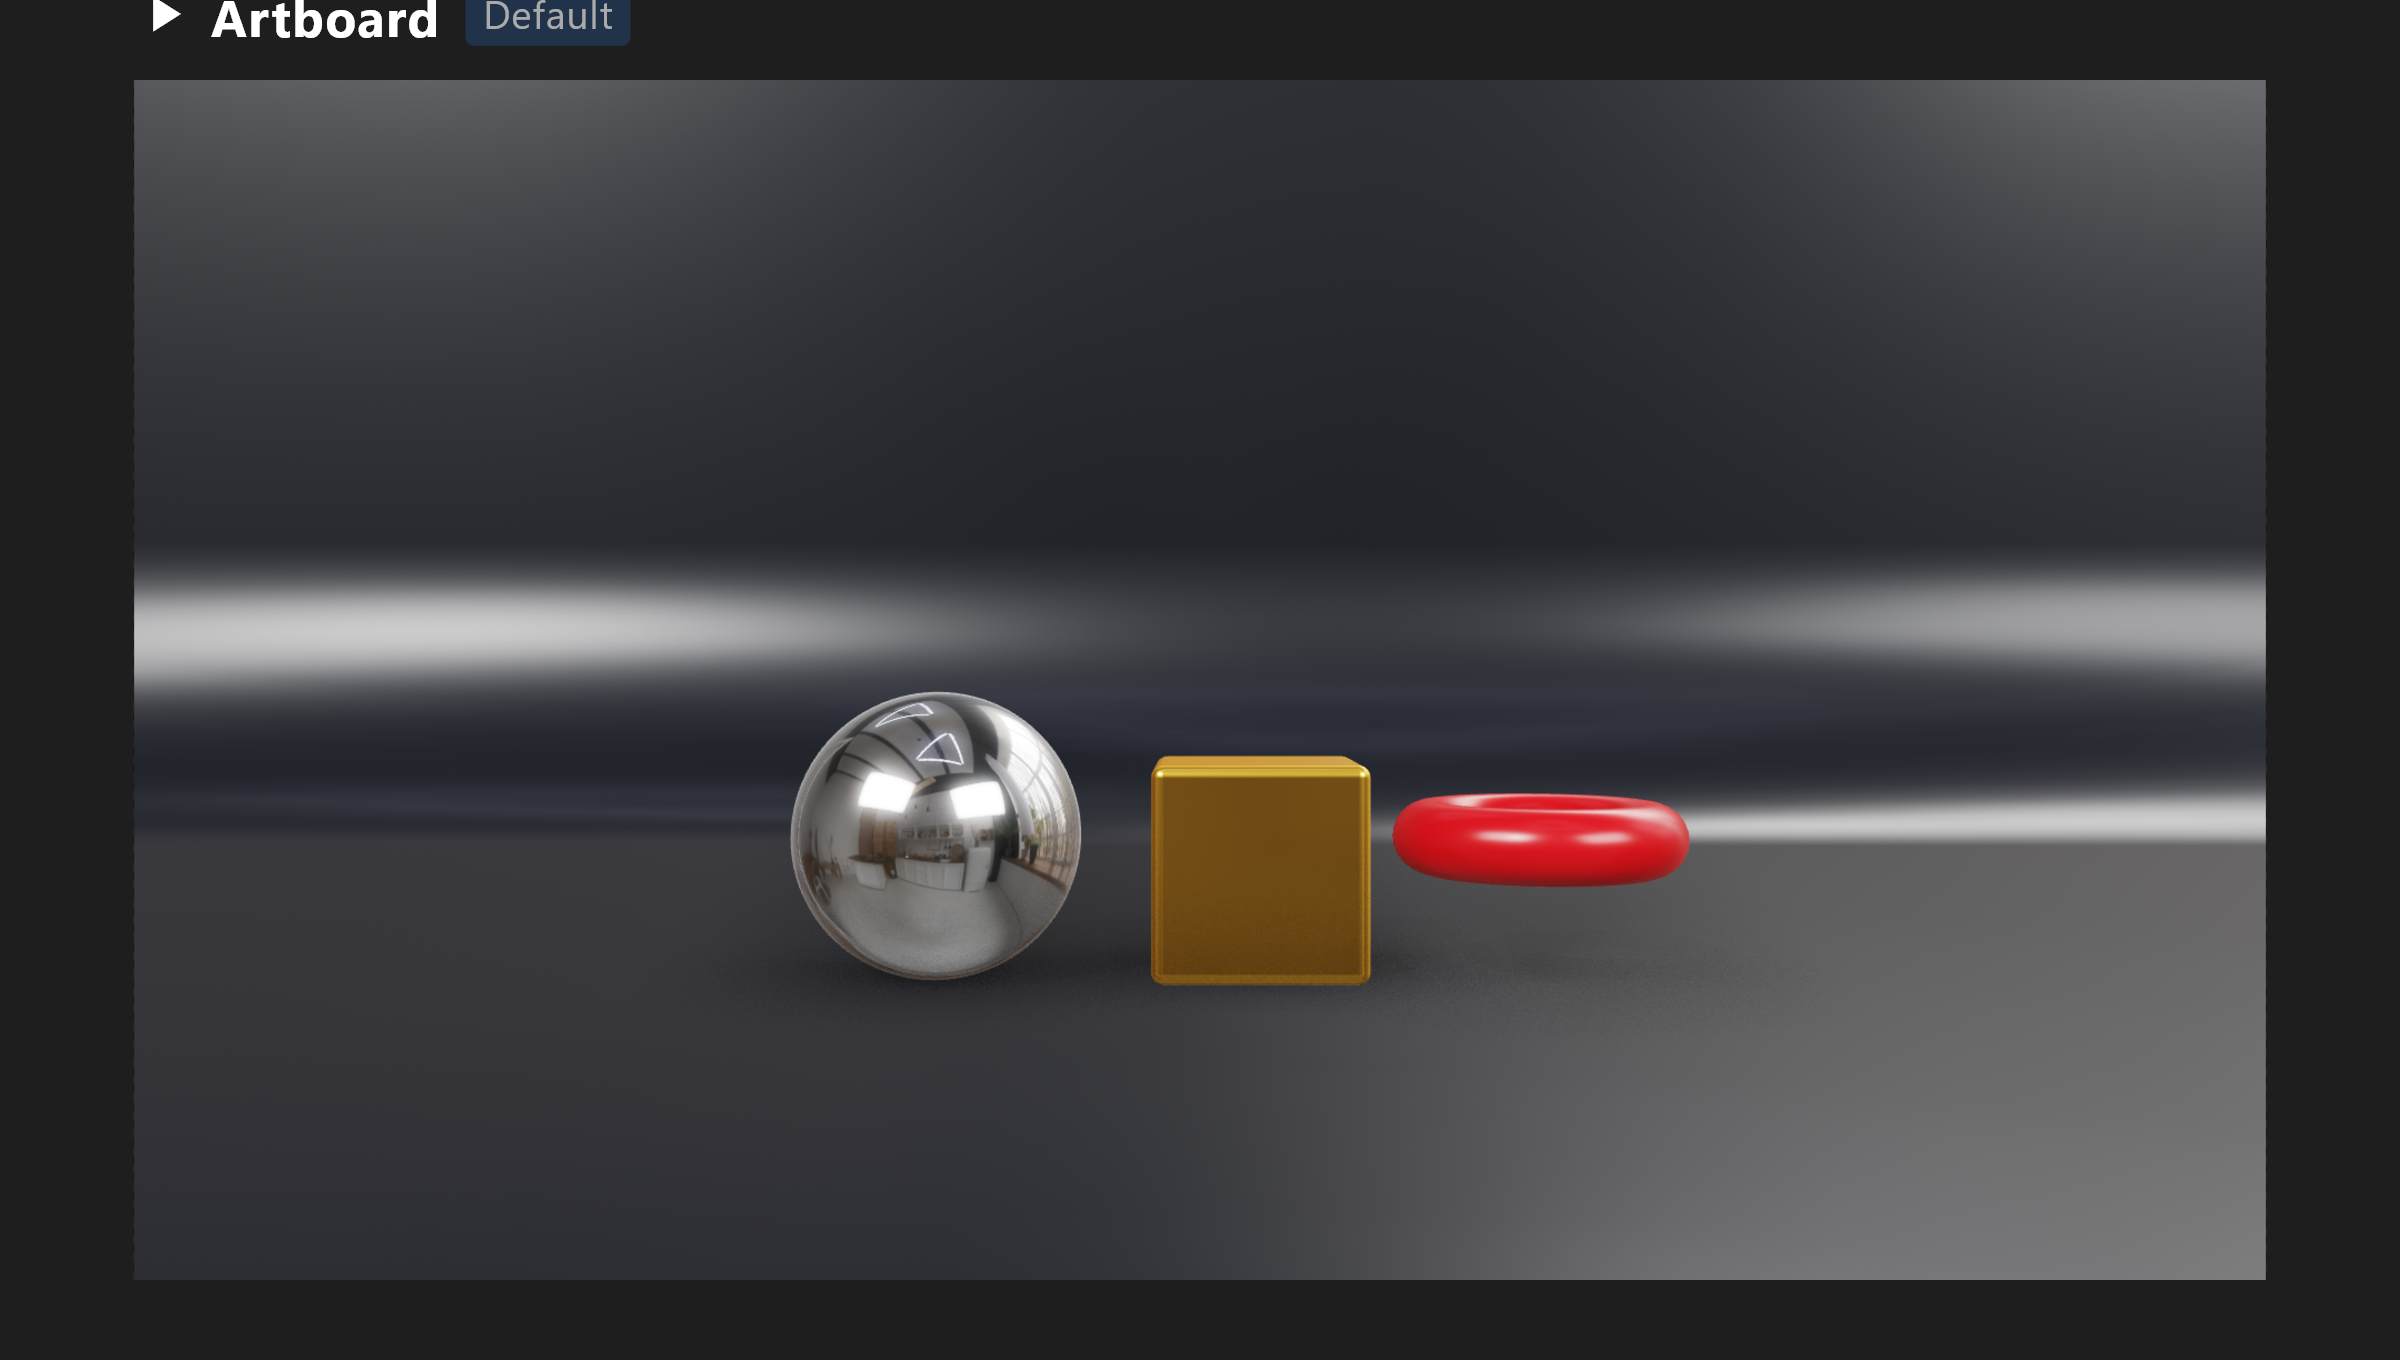
Adding one
The 3D button in the top bar adds a viewport that fills the artboard. Its small arrow opens the 3D menu, where 3D Viewport does the same. Adding any 3D object when the artboard has no viewport makes one first.
A new viewport comes with a Key Light and a Camera, and plays through that camera. Its background is transparent: the 2D artwork around and behind it shows through.
A viewport is a layer like any other. Move it, size it and order it in the Hierarchy; the 3D objects it holds are listed under it, with the sky last.
Looking around the stage
The camera that plays is one thing; the view you work in can be another.
| To | Do this |
|---|---|
| Orbit | Alt + drag on the viewport |
| Slide sideways | Alt + middle drag |
| Move in and out | Alt + right drag |
| Jump to a view | Click a face of the view cube in the viewport's corner, press a view key (below), or Stage view › Views |
| See the other side | Click the face you are already looking at straight on: Top turns to Bottom |
| Frame an object | The frame icon in its inspector, or 3D › Frame selected |
| Go back to what plays | The Camera button under the view cube, 0, Stage view › Look through › The camera (what plays), or 3D › Look from › Camera |
The Camera button under the view cube is lit while the stage looks through the file's camera. Click it to look through the camera; click it again to go back to the editor view, where you left it.
View keys work while the artboard has a 3D layer, from the number row or the number pad:
| Key | View |
|---|---|
1, 3, 7 | Front, right, top |
Ctrl+1, Ctrl+3, Ctrl+7 | The opposite sides: back, left, bottom |
0 | Look through the camera; press again to go back to the editor view |
They are in the 3D view group of File › Keyboard shortcuts, where you can change them, and the top bar's Look from menu shows them beside each view. See Keyboard shortcuts.
Orbiting switches the stage to the editor camera. It never changes the file: the graphic always plays through the scene camera.
Selecting and moving objects
Click an object to select it; Shift or Ctrl + click adds to the selection. Click empty space in the viewport to select the viewport itself. With an object selected, drag on empty space to draw a selection box.
| Key | Tool |
|---|---|
V | Select: dragging moves the object |
Q | Move, with arrows along each axis |
W | Rotate |
E | Scale |
Hold Shift while dragging to snap: 1 cm, 15°, ×0.1. With Snap on, snapping is always on and Ctrl suspends it. Alt or Ctrl + drag leaves the original where it was and moves a copy.
Gizmo axes sets whether the arrows follow the object's own turn (Local) or the world's (World).
The 3D section
Select the viewport to see its settings, under the usual layer rows. Rows with a diamond can be keyed in Animate mode and bound to data. A row that picks one of a list, such as Camera or the colour mode, switches exactly at its key, with nothing in between; a number moves smoothly from key to key.
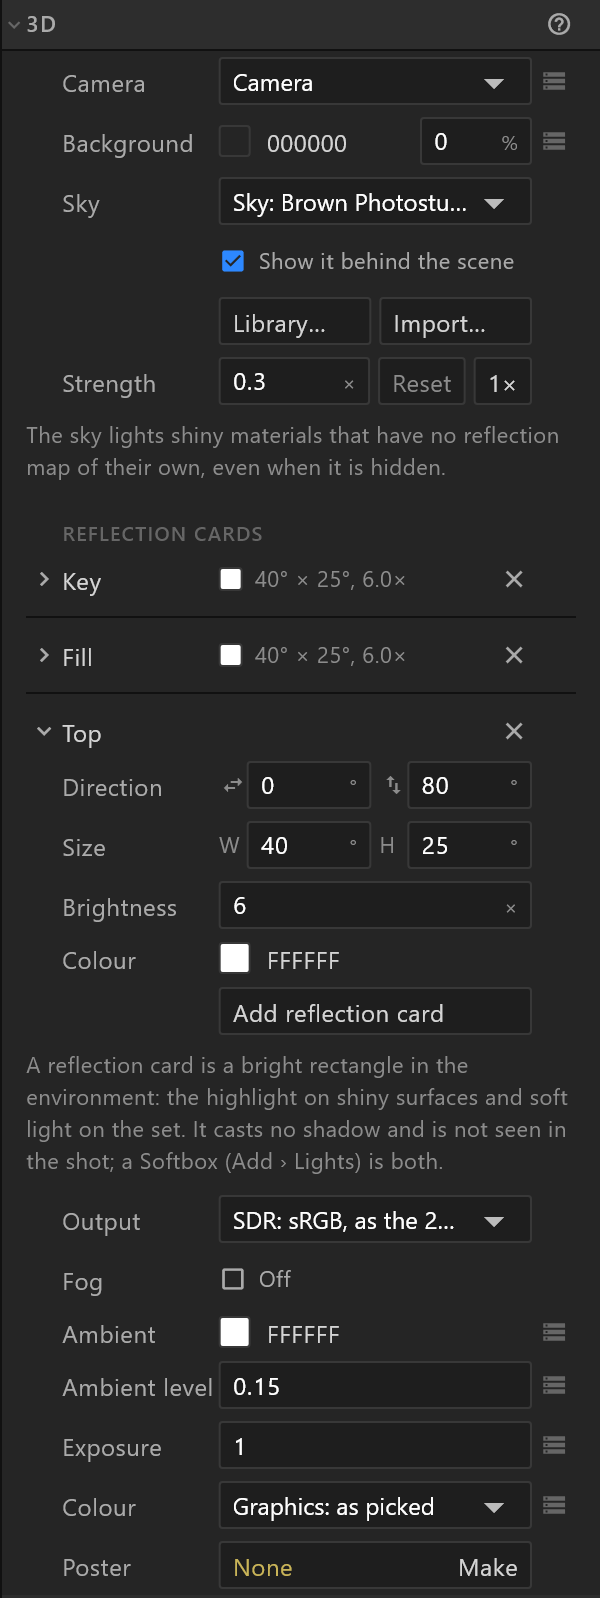
| Row | What it does |
|---|---|
| Camera | Which camera plays: Default: matches the screen, or any camera by name |
| Blend to, Camera blend | With two cameras or more: a second camera, and how far the shot has moved to it, 0–100 %. Key the blend to move from one to the other; a key on Camera cuts, and its track names each camera across its span. Bound to a number, the list shows each camera's number before its name |
| Background | A colour behind the scene, and its opacity. 0 % — the default — is transparent |
| Sky and what follows | The environment the scene reflects, its strength and its reflection cards. See Sky and reflection cards |
| Output | SDR: sRGB, as the 2D artwork (the default), HDR: PQ (BT.2100) or HDR: HLG (BT.2100). PQ adds Peak, in nits. HDR is worth it only when the playout chain carries 10 bits |
| Fog | Towards a colour with distance: a Fog colour, where it starts and where it is complete |
| Ambient, Ambient level | A flat light everywhere, and how much |
| Exposure | How bright the whole picture is before its colour mode |
| Colour | How light becomes colour — see below |
| Poster | A still that other players show in the viewport's place |
Colour
| Choice | For |
|---|---|
| Graphics: as picked | The default. Colours come out as you picked them: brand colours stay brand colours |
| Cinematic: film look | A film curve: bright light rolls off softly into highlights, the look of a lit set |
| Neutral: true colours | A film curve that keeps picked colours true on lit surfaces |
With Neutral, the panel adds: "Keeps picked colours true on lit surfaces. A strongly glowing colour still turns white, so keep a glowing brand colour at a Glow strength near 1."
The poster
Players that do not draw 3D show nothing in the viewport's place — unless it has a poster. Make takes a still of the 3D at the playhead. When the scene changes, the row reads Older than the scene; Update takes a new one. Preflight reminds you when a viewport has none.
Stage view
How the stage shows the scene while you work. None of it goes to air.
| Row | What it does |
|---|---|
| Look through | The camera (what plays) or Editor camera: Alt-drag orbits |
| Views | Front, Back, Top, Right, Left, Bottom, through the editor camera |
| Grid | A floor grid on the stage |
| Gizmo axes | Local (the object's own) or World |
| Snap | Snapping always on, or only while Shift is held |
Mask
Mask with shows the 3D only inside a 2D shape on the artboard, as the shape is drawn. Animating the shape does not move the mask. A shape with no closed outline masks the whole layer away, and the panel says so.
Bloom
Bloom: bright parts glow.
| Row | What it does |
|---|---|
| Threshold | How bright a part must be to glow |
| Intensity | How strong the glow is. Key it from 0 to make a glow swell in |
| Radius | How far the glow spreads |
Bloom on or off is fixed when the graphic loads: to make a glow appear or fade, key Intensity.
Finish
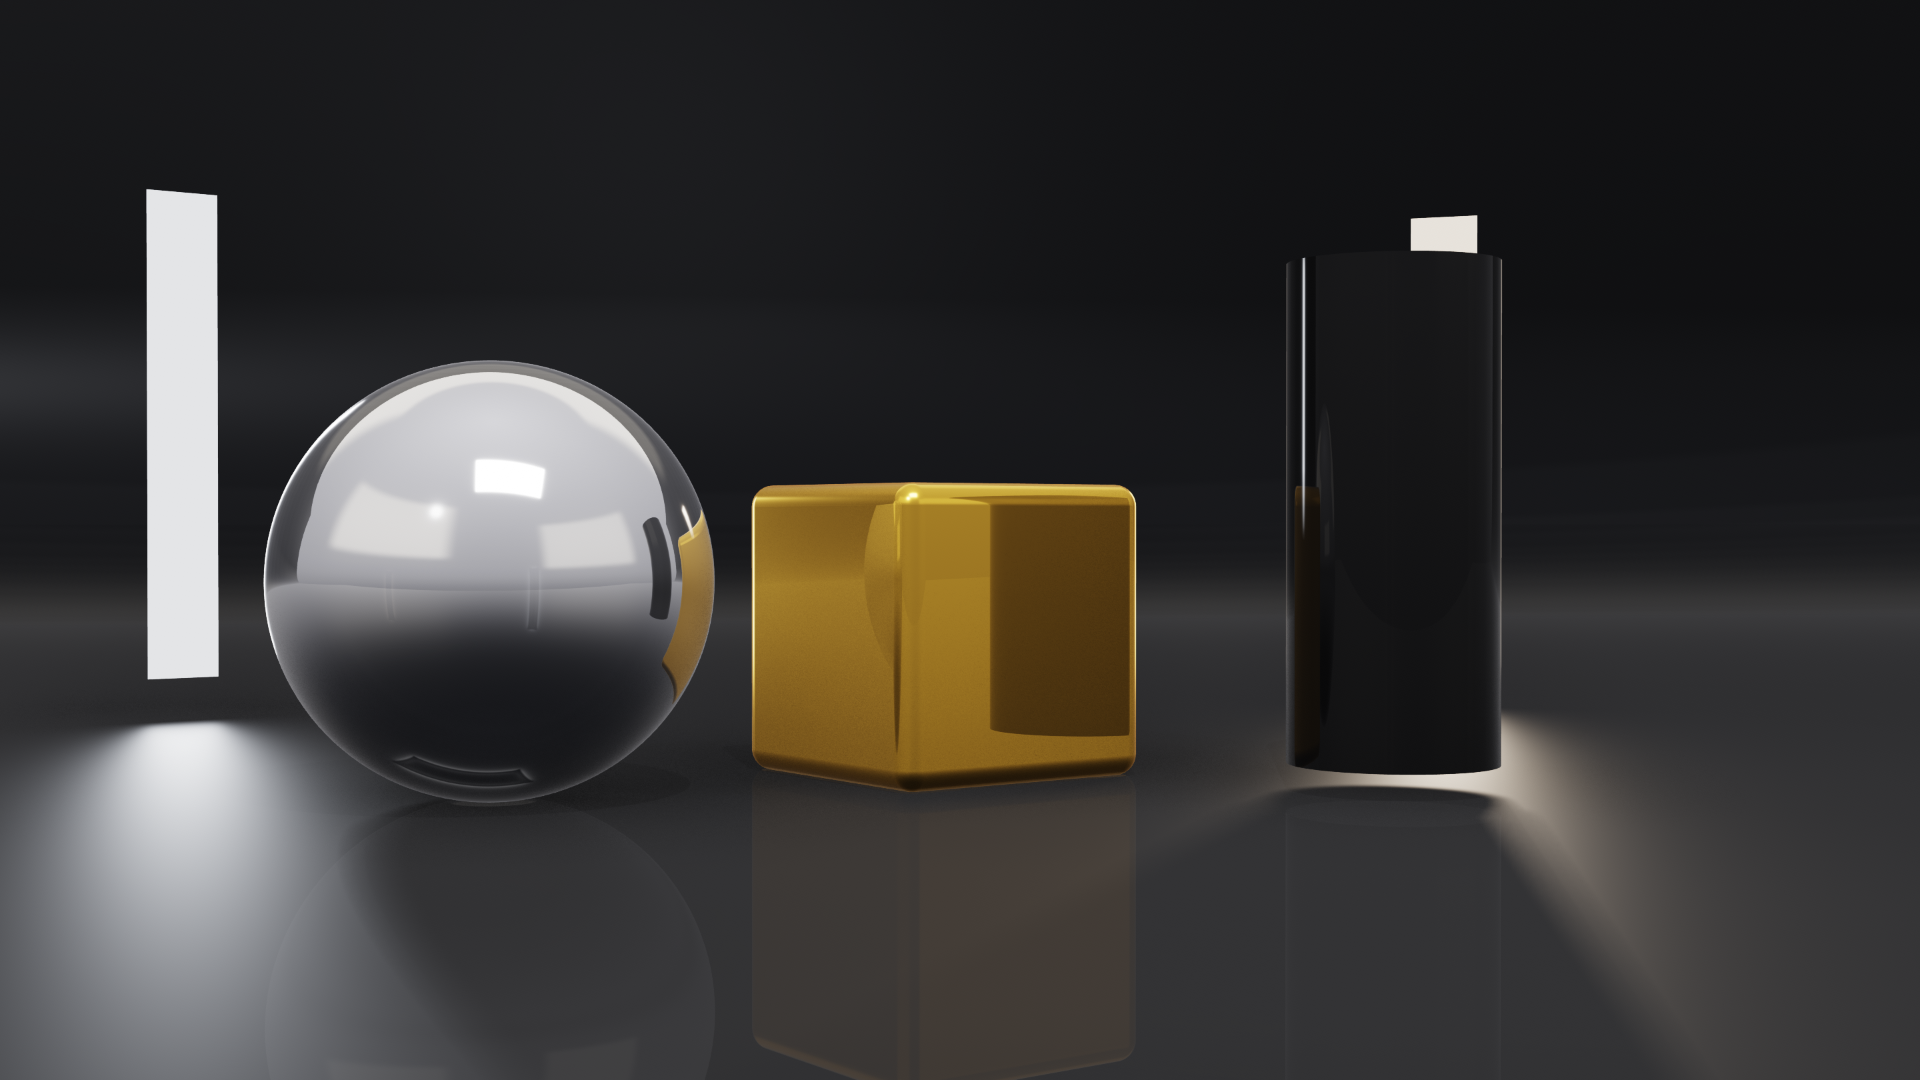
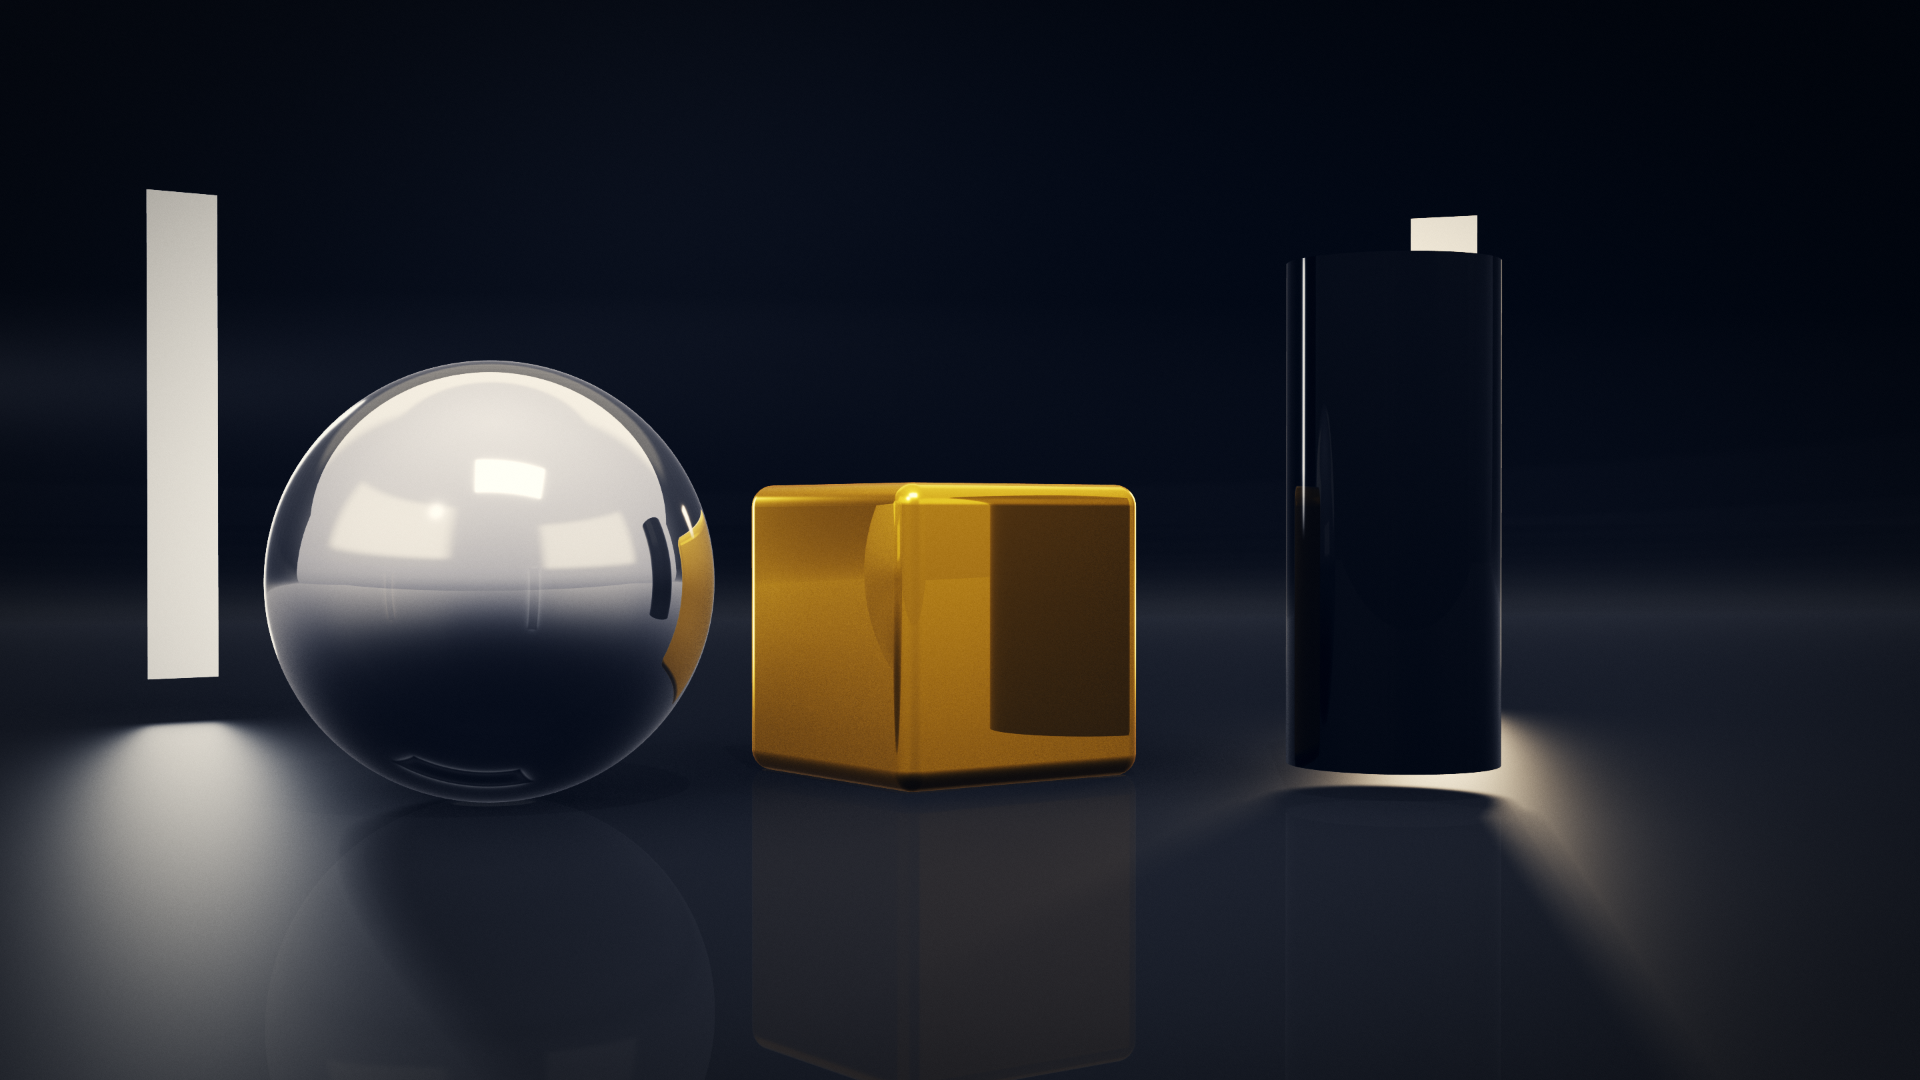
Finish puts a final look over the whole 3D picture: a colour grade, darker corners and film grain, the way a colourist finishes a shot. With any of them on, the section says "Applied last, over everything else. The key (alpha) is never touched.", so the layer still keys cleanly over what is behind it.
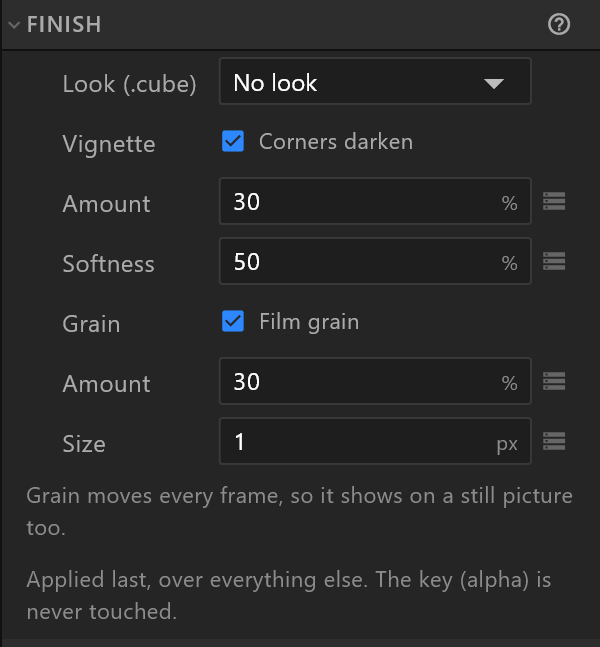
| Row | What it does |
|---|---|
| Look (.cube) | A colour grade from a .cube look file. No look is first; then the document's looks by file name; Import .cube… at the end adds one |
| Strength | How much of the look is applied, 0 to 100 %. Shows while a look is chosen |
| Vignette | Tick Corners darken for darker corners. It starts at 30 % |
| Amount, Softness | How dark the corners go, and how gradually |
| Grain | Tick Film grain for moving grain over the picture. It starts at 30 % |
| Amount, Size | How strong the grain is, and how big each grain is, in px |
Grain moves every frame, so it shows on a still picture too. Every value can be keyed on the timeline and bound to data, like the other 3D numbers, and each change is one undo step. The assistant can set the look's Strength, the vignette and the grain; choosing or importing a look is done in the section itself.
A look file that can't be used shows a warning mark in the field and one sentence under it saying why, for example "This look can't be used: the file is incomplete (27 colours expected, 1 found). The picture is not graded." Its Strength row hides until you choose another look.
Ambient occlusion
Occlusion: corners catch shade — where a wall meets a floor, where an object stands on the ground. Radius is how far around each point it looks; Strength how dark a closed corner goes, and it can be keyed. It shades the soft light from the sky and ambient only: a light's direct beam, and unlit surfaces, are left as they are. An orthographic camera does not draw it. Where airZ Engine traces, Traced ambient occlusion works this shade out with real rays: see Ray tracing.
Touch
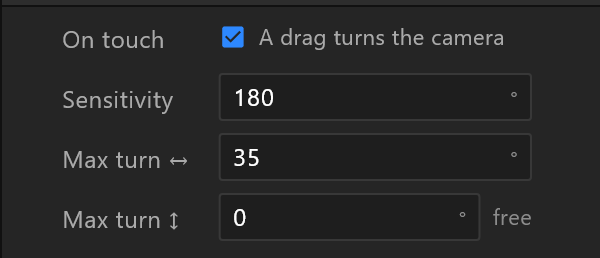
On touch: a drag turns the camera around what it is looking at, for a studio touchscreen. Sensitivity is how far a drag across the screen turns it. Max turn ↔ and Max turn ↕ say how far a drag may turn the camera from the shot, left or right and up or down, in degrees either way (up to 180° and 85°); 0 is no limit, and the row shows "free". Set them for a live scene, so a viewer can't turn it round to its unlit back or under its floor.
The turn starts from the camera the file was made with, so a graphic nobody touches plays exactly as designed. Tap name to writes the name of a tapped object into a text property, and Tap fires fires a trigger — both need such a property in the artboard's data.
Shadows
Shadows: from the first two lights that cast. Map size trades sharpness for cost (512 — soft, cheap, 1024, 2048 — crisp); Bias stops a surface shadowing itself; Softness gentles the edge. Which lights cast is set on each light: see Lights and cameras.
Quality
Preset sets the section in one choice, and the line under it says what it sets:
| Preset | What it sets |
|---|---|
| Fast | 2× MSAA, 75 % render scale, 512 shadow maps |
| Balanced | 4× MSAA, full scale, 1024 shadow maps. A new layer starts here |
| High | Temporal smoothing, 2048 shadow maps, traced shadows and ambient occlusion |
| Maximum | Temporal smoothing, 150 % render scale, 2048 shadow maps, traced shadows, reflections, ambient occlusion and global illumination |
What the layer costs. A line under the preset says how long the layer takes to draw, for example "About 3.5 ms a frame on the reference card: 21% of this document's 16.7 ms frame." A 3D layer may take up to half the frame. Past that the line turns orange, says playout may drop frames and that a lighter preset brings it down. When ambient occlusion is on and not traced, it adds what that alone costs, for example "ambient occlusion alone is about 6 ms". The figures are measured on airZ Engine's reference card at 1080p and err on the high side: about 2 ms for Fast, 3.5 for Balanced, 11 for High and about 32 for Maximum with its global illumination, so Maximum warns at 59.94 and 50 frames a second.
Ambient occlusion on a video wall. The usual (untraced) ambient occlusion costs more the more pixels the layer has: on a 5760×1080 wall it takes about 16 to 32 ms, more than half a frame. On a layer that size an orange line says so: "Ambient occlusion alone is about … ms on a layer this size, more than half the frame. Trace it (Ray tracing › Traced ambient occlusion, about … ms) or turn it off." Traced, it costs about 2.8 ms at 1080p and 3.5 ms on the wall, so a wall graphic that needs contact shade should trace it.
Where the layer cannot be traced. On a traced layer, a line under the frame cost says what the whole layer costs where airZ Engine cannot trace, for example "Where airZ Engine cannot trace, the layer plays untraced at about 6.0 ms (36% of the frame)." Past half the frame it turns orange: "Where airZ Engine cannot trace, the layer plays untraced at about 35.0 ms, more than half the frame, so playout may drop frames there."
You can also ask the assistant for a preset, for example "put this layer on Maximum".
Change any of those rows by hand and the preset reads Custom. A preset never touches the look (bloom, fog, exposure, colour, sky, background, or whether shadows are on) or deep output.
To edit a heavy scene comfortably without changing the file, preview it at a lighter preset instead: 3D: as file ▾ in the top bar draws the stage at Fast, Balanced, High or Maximum while the file keeps its own quality. See Top bar.
| Row | What it does |
|---|---|
| Anti-aliasing | Off, 2× MSAA, 4× MSAA (the default), 8× MSAA, or Temporal smoothing. The MSAA options smooth edges; Temporal smoothing blends each frame with the ones before it, each drawn a fraction of a pixel apart, so fine patterns, thin lines and highlights stop crawling and shimmering, and a still frame keeps getting smoother. Picking an MSAA option again brings back the count you had |
| Render scale | How many pixels the layer draws before it is scaled to the frame: 50 % to 200 %. Lower costs less; higher is sharper |
| Deep output | 16 bits on a 16-bit playout channel, for smoother gradients |
| Ray tracing | Traced shadows, reflections and ambient occlusion, and global illumination — see below |
| Units | Whether lengths read in Pixels (1 px = 1 mm) or Metres |
Temporal smoothing and cuts. With it picked, the section says: "Each frame is blended with the ones before it, so fine detail and highlights stop crawling. The first frame after a cut is not yet smoothed." It settles within a few frames, and moving objects leave no trail.
When the viewport uses shader looks, a line says what they cost a frame, and warns when they take a large share of it.
Ray tracing
Ray tracing On traces shadows, reflections and the contact shade through the scene, on a graphics card that can trace. Traced shadows, Traced reflections and Traced ambient occlusion choose which; turning Ray tracing on ticks all three. Which surfaces reflect is each material's Reflection and Roughness; which objects cast is their Shadows › Casts.
Traced ambient occlusion is the soft darkening where things meet (under a ball, along a shelf, in a corner) worked out with real rays instead of from the picture. So it is right even for things the camera can't see, with no grey halos round edges. It needs Ambient occlusion on; while that is off, the row says "Traced ambient occlusion needs Ambient occlusion on: it traces the shade that switch turns on." With Temporal smoothing it is smooth; without it, it shows a fine grain. Where the layer is not traced, it uses the usual ambient occlusion, unchanged.
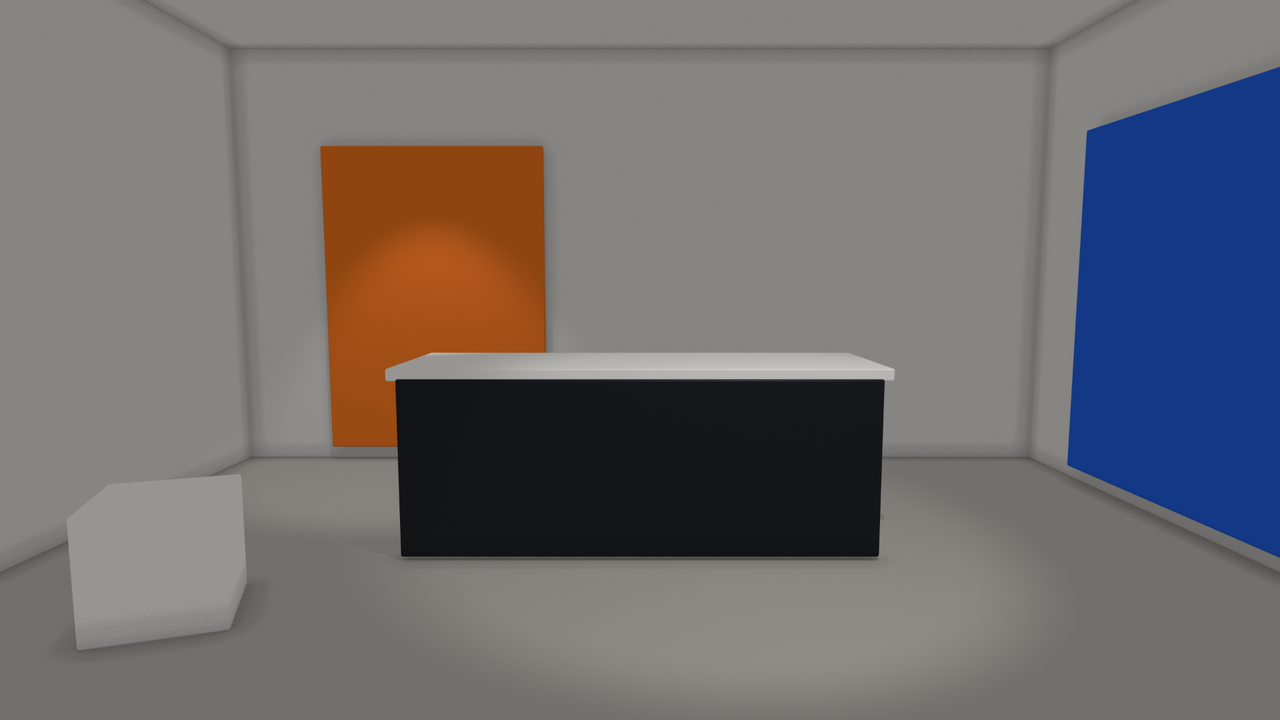
Global illumination makes light bounce between surfaces the way it does in a real room: a red wall tints the white floor beside it, the ceiling picks up light from the lit floor, and a corner is darker than the middle of a wall. Ambient stays exactly as you set it, as your fill: global illumination adds the bounced light on top, off lit surfaces and from the studio or sky around the scene (shadowed where it can't reach, bounced where it can). Turning it on never makes a scene darker. It shows most in a set lit by its lights rather than by a strong flat fill: lower Ambient and raise the lights, and the bounce does the work. It needs Ray tracing on. The Maximum preset turns it on (about 0.9 ms more at 1080p); on any other preset, ticking it makes the preset read Custom. While it is on:
| Row | What it does |
|---|---|
| Bounce | How strong the bounced light is, 0 to 400 %; 100 % is physically true. It can be keyed and bound to data |
The note under it reads "Light bounces between surfaces: a red wall tints the floor beside it, and a corner is darker than the middle of a wall. It adds to Ambient, so it shows most when the set is lit by its lights with Ambient low. Traced where airZ Engine allows it; everywhere else the layer keeps its flat ambient."
To see it, lower Ambient and light the set with lights: the colour bleeding off a wall, the pools of light and the way objects sit on the floor come from the bounce, and a strong Ambient fill all but hides them.
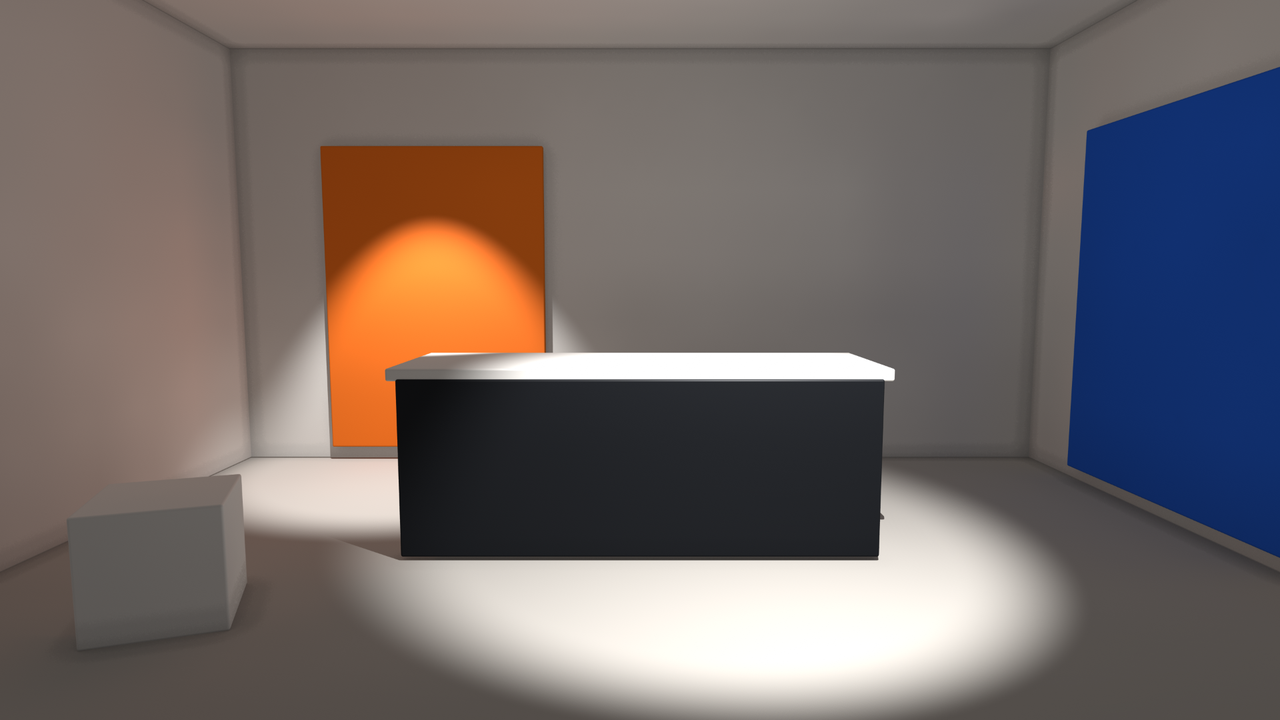 When a light changes on air, for example a cue switching the key light on, the bounce catches up within a fraction of a second.
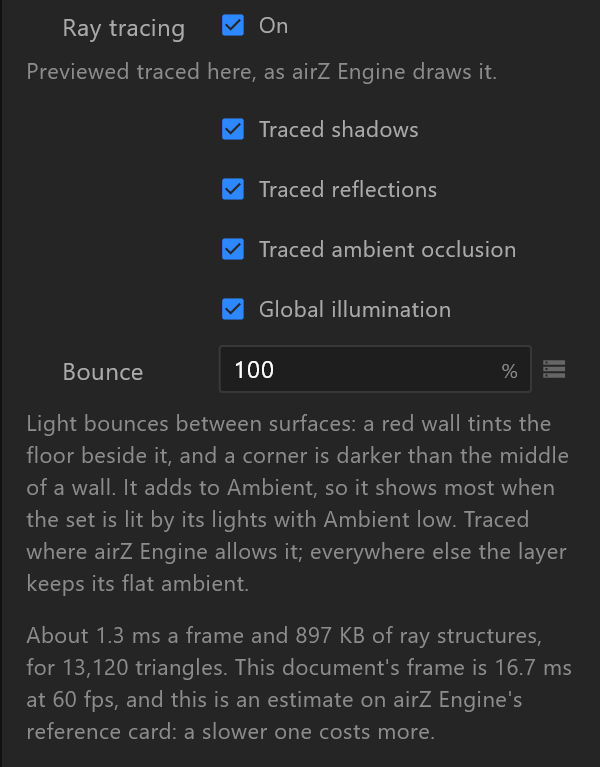
A line under it says how the stage shows it:
| The line reads | What it means |
|---|---|
| Previewed traced here, as airZ Engine draws it. | This computer traces: the stage shows what plays |
| Switching the stage to traced… | Getting ready; seconds on a heavy scene |
| Not traced here: this computer can't trace. At playout it is traced where the machine can. | This graphics card cannot trace; the stage shows the scene without it |
| Not traced here: Settings › Preview is Compatibility. | Tracing is off for the stage in Settings. Click the line to open them |
A cost line estimates what tracing takes a frame. Tracing is heavy: check Preflight before air.
The 3D menu
The small arrow beside the 3D button:
| Entry | What it adds or does |
|---|---|
| 3D Viewport | A new viewport |
| Import Model… | A model from a file: see 3D objects |
| Shader background (full frame)… | A full-frame backdrop drawn by a look, in a viewport of its own |
| Shapes | Cube, Plane, Sphere, Cylinder, Cone, Torus, Disc, Cyclorama |
| Lights | Directional, Point, Spot, Hemisphere, and Sky… |
| 3D Text, 3D Group | Text with depth; an empty group |
| Surface from shape, Extrude shape | A 2D shape made 3D |
| Card: artboard | An artboard shown on a card in the scene |
| Camera, Tracked camera (FreeD) | A camera; one that follows a real camera head. See Camera tracking |
| Tracking simulator, Delay tuning, Lens calibration | Tools for tracked cameras |
| Look from | Camera, Editor, Front, Back, Right, Left, Top, Bottom, each with its key |
| Frame selected | Frames the selection in the editor camera |
| Gizmo axes, Snap | The same switches as Stage view |