Appearance
Your first scene
A lower third — a name and a role on a plate, driven by data and animated on — from an empty document to a file the playout server can play. About fifteen minutes.
You will use every part of the window once. Each step links to the page that covers it in full; the Lower third guide goes further with the same graphic.
1. A new document
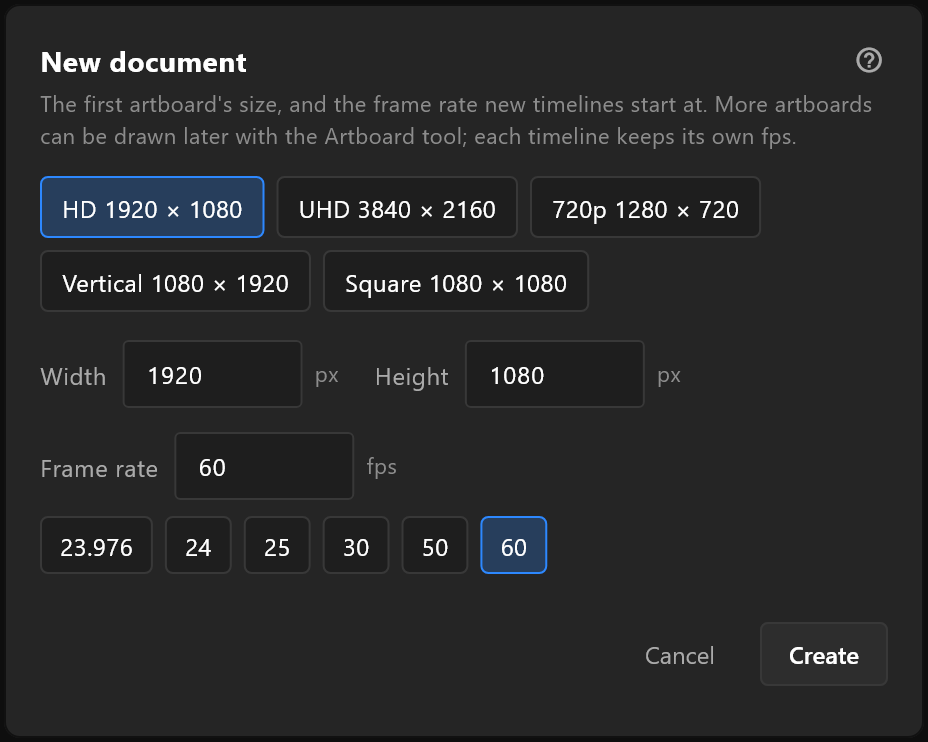
On the Start screen, choose New document, keep HD 1920 × 1080 and the frame rate your channel runs at — 50 in most of Europe, 60 or 59.94 in North America — and press Create.
2. The plate and the words
- Press
Rfor the rectangle, and drag a bar across the lower part of the artboard. When you let go, the tool goes back to select, and the bar is selected. - In the inspector's Fills and Strokes, click the swatch and choose a dark colour for the plate.
- Press
Tand click on the plate: a text appears, sayingText, and it is selected. Type a name into the text row at the top of the inspector's Text section. PressTagain, click below it, and give that one a role — "Political editor".
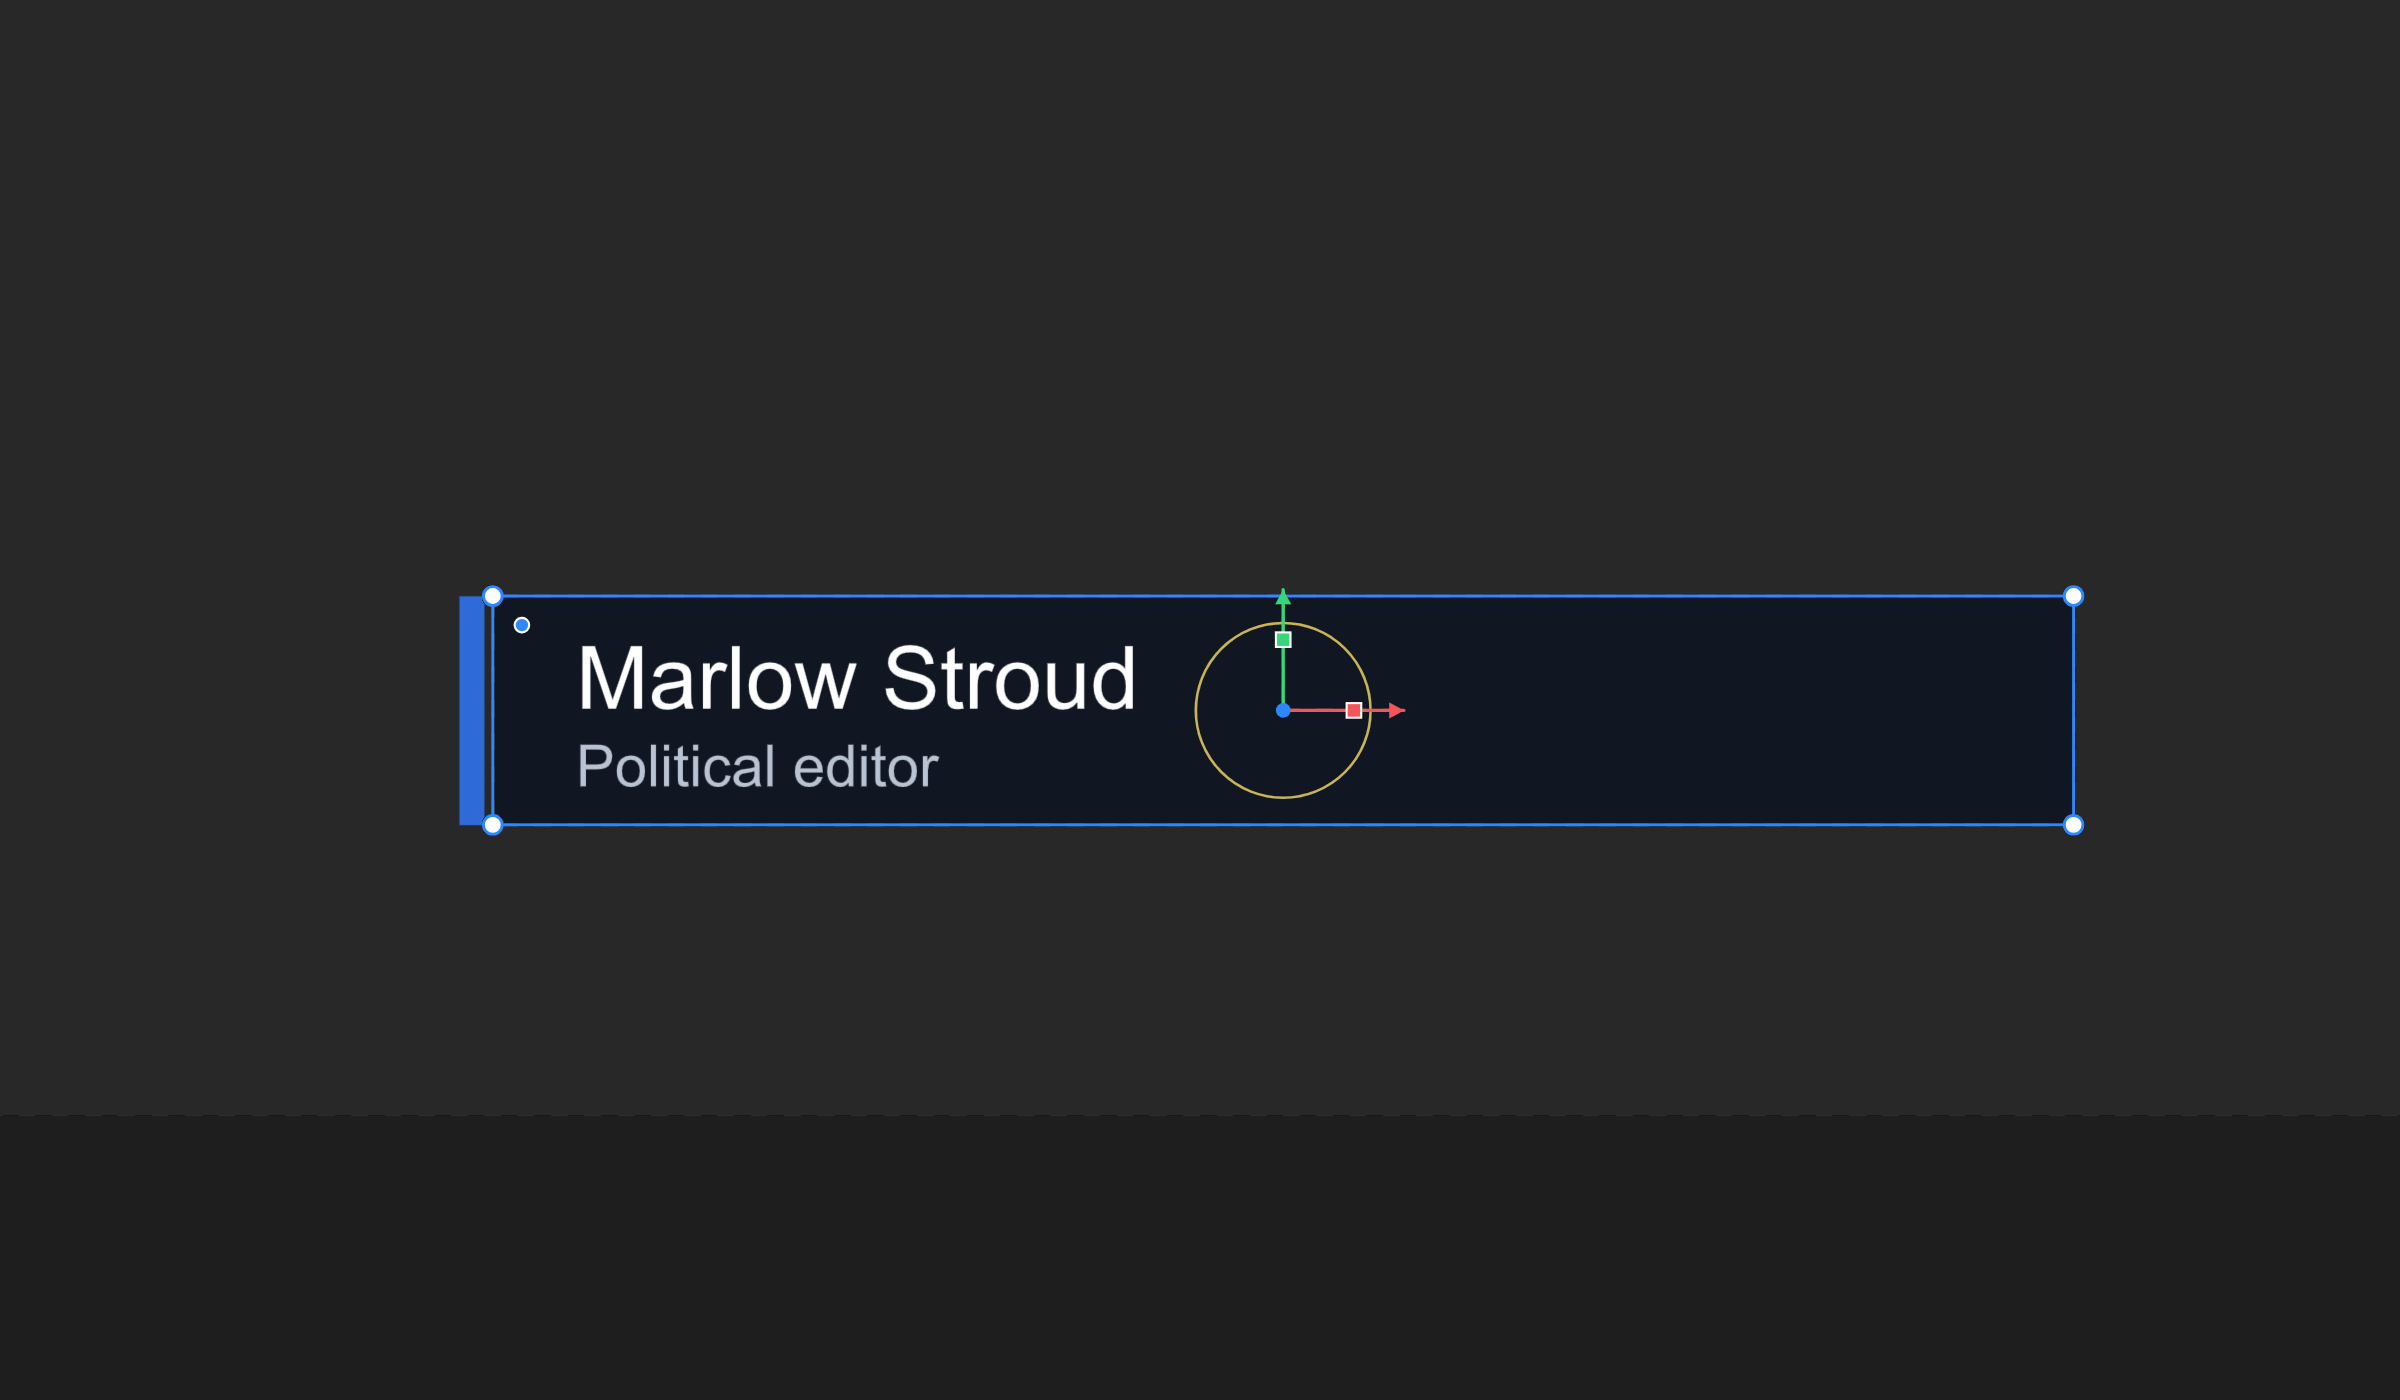
The inspector on the right always shows what is selected; the Hierarchy on the left lists everything on the artboard. Click a name there to select it.
3. Let the data fill it in
A graphic on air is filled in by the control system: the operator types a name, and the graphic shows it. What it can be given is its view model, in the Data panel.
- In Data, the artboard already has a view model. Select its row and press
Stwice: two text properties. Name them name and role. - Select the name text. In the inspector's Text section, click the data glyph at the right of the text row and choose name. The row turns into a blue box that says where its words come from.
- Do the same for the role text, with role.
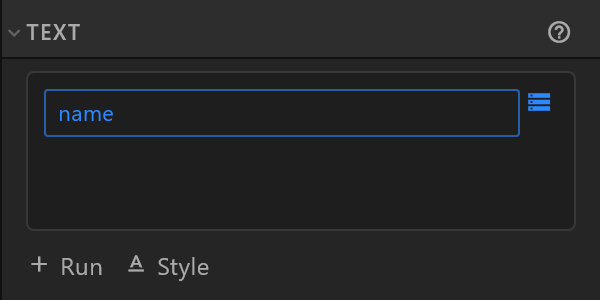
Type into the property's value in the Data panel and the stage follows — that is what the control system will do on air.
4. Animate it on
- Switch to Animate at the right of the top bar. The timeline opens along the bottom, and the red dot says auto-key is on.
- With the playhead at frame 0, select the plate and move it off the left of the artboard. A key appears on its row.
- Move the playhead to half a second (frame 25 at 50 fps), and move the plate back into place. A second key.
- Press
Spaceto play it.

To make it land rather than stop, select the first key and choose Back in the interpolation editor.
5. Check it, and export it
- The preflight chip in the top bar counts anything that would go wrong on air. Click it and fix what it lists.
- Save the document with
Ctrl+S. - Choose File › Export .riv… (
Ctrl+E) to write the file the playout server plays.
6. Send it to air
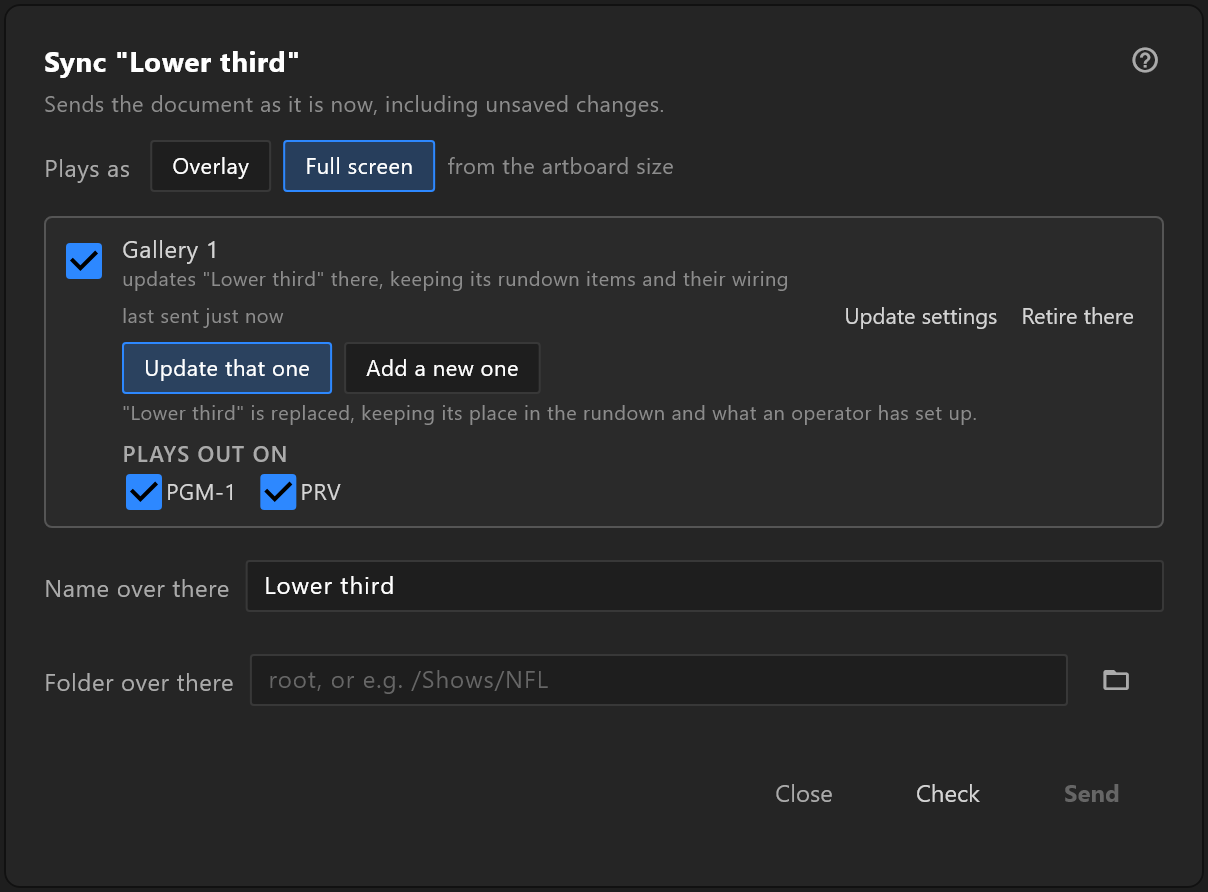
With a controller paired, File › Sync to controllers… sends the graphic straight to the control room, which asks each controller what would happen before anything changes.
Where next
- Lower third — the same graphic, done properly: a Animation States, a way out, and a colour from the data.
- The interface — every panel, section by section.
- From scene to air — what happens after the file leaves the editor.