Appearance
Bone and weights
Bones bend artwork: an arm that swings, a flag that waves. You draw a chain of bones, bind a shape to it, and each point of the shape follows the bones nearest to it — by how much is its weight.
Drawing bones
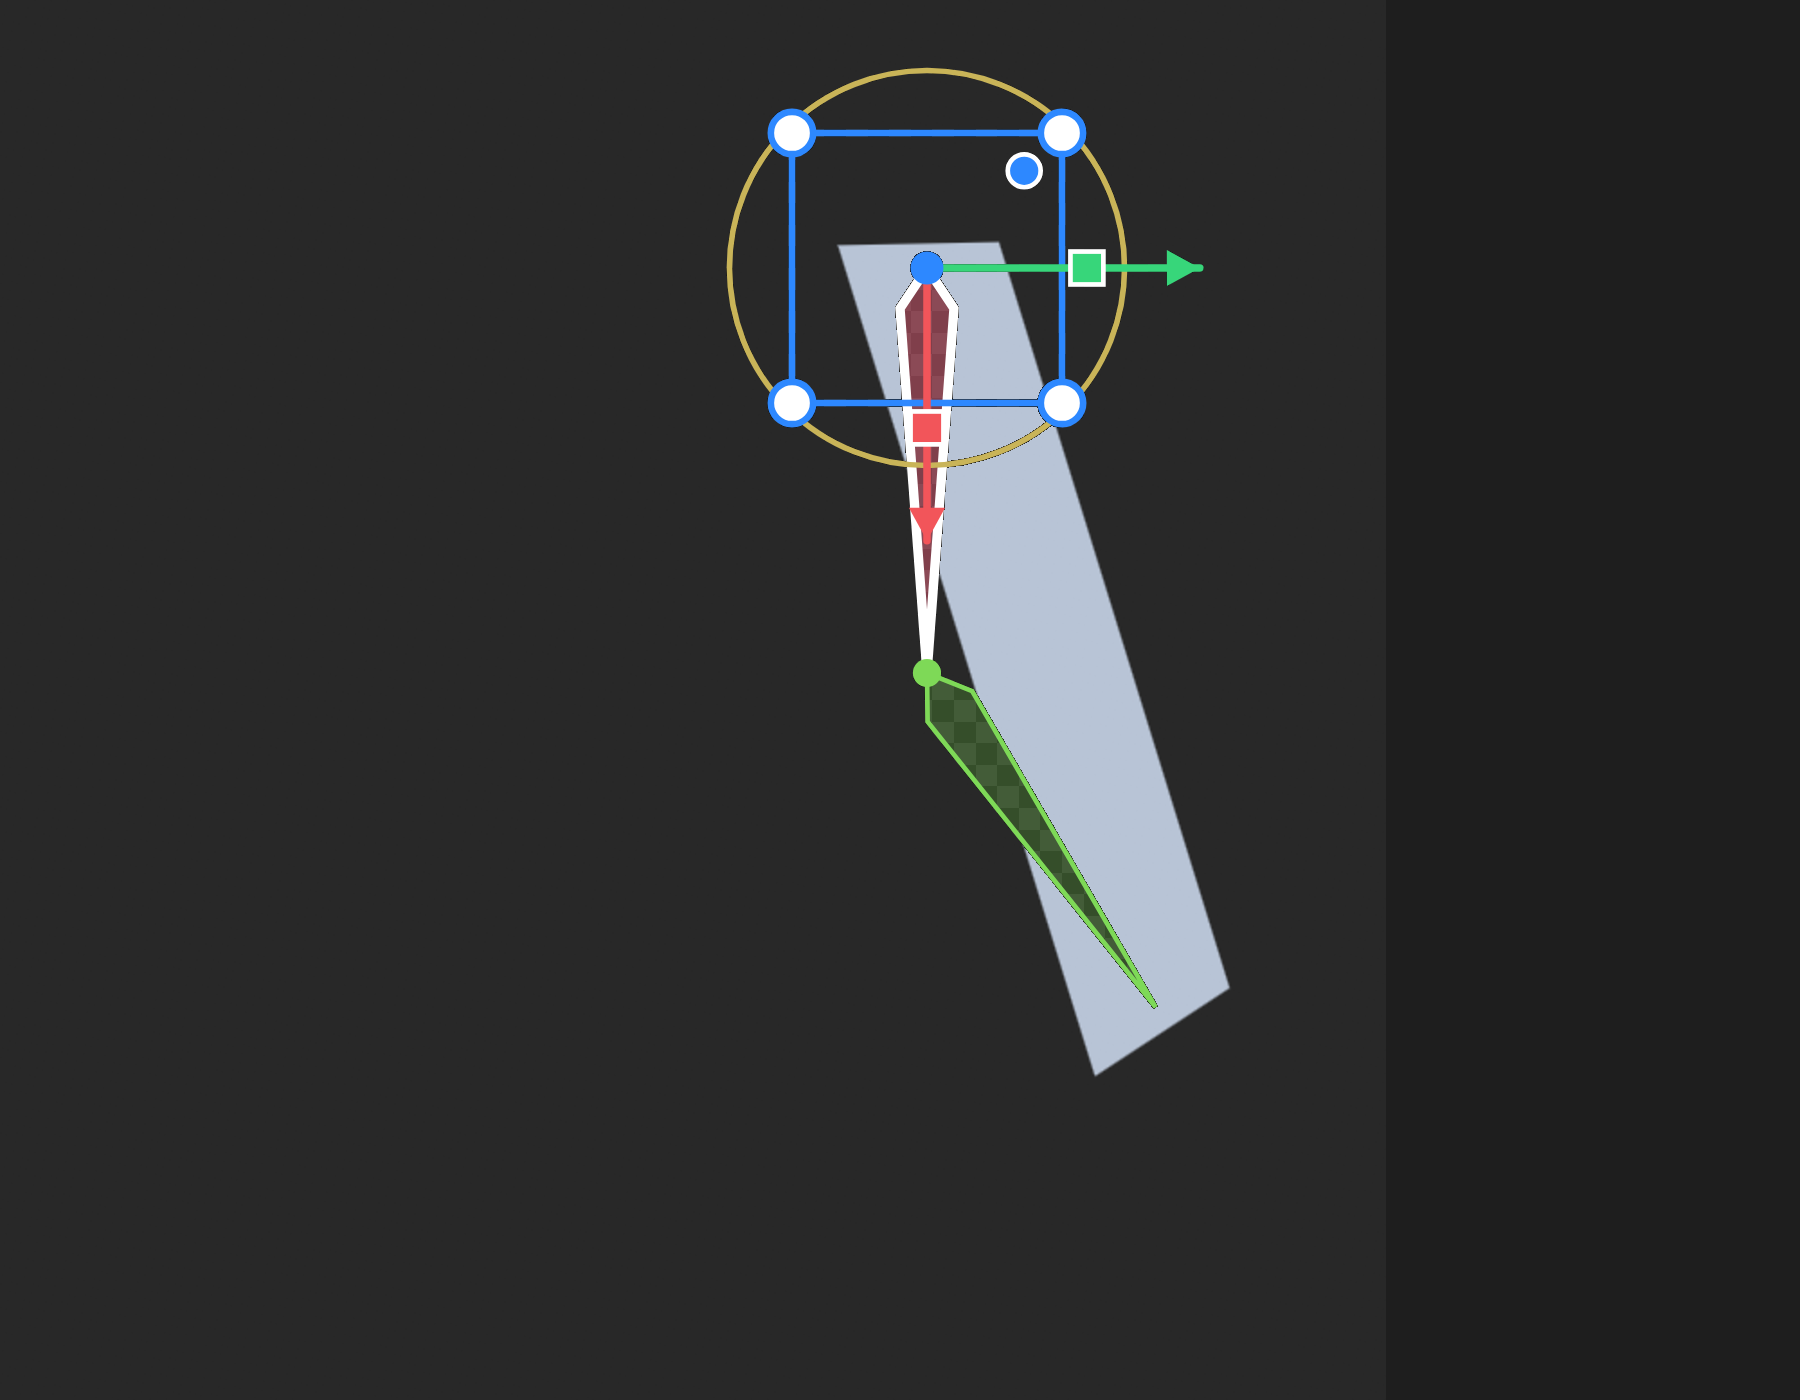
Choose Bone (B) from the bones tool group. Press on the stage to place a root bone and drag to aim it. With a bone selected, the next press adds a child starting from its tip, so a chain grows one bone at a time.
A bone's panel
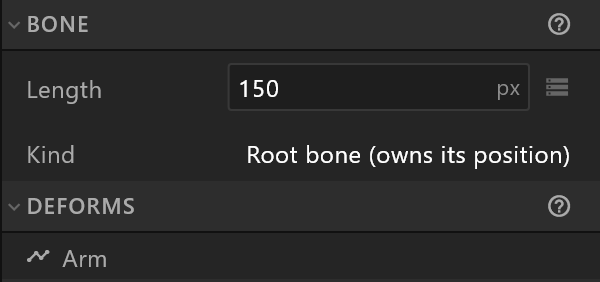
| Row | What it does |
|---|---|
| Length | How long the bone is, in pixels. It can be keyed |
| Kind | Root bone (owns its position), or Child bone (starts at the parent tip). A child bone has no position of its own: rotate it, or change its length |
| Deforms | The shapes bound to this bone. Click one to select it. With none: "No path follows this bone yet. Select a pen path, Shift-click this bone, then Bind in the path's Bones section." |
Above them, Rotation and Scale work as for any object. Bones are what you animate: key their rotation, and the artwork bound to them bends.
Binding a shape
Only a shape made of points can be bound: a pen path, or a shape turned into one with Convert to path. A picture is bound through its mesh — turn the mesh on in its Deform section first; the panel offers Add mesh when it is missing.
- Select the shape. To bind it to some bones rather than all,
Shift-click those bones too. - In the shape's Bones section, press Bind to all 2 bones (or Bind to 2 selected bones).
Every point is weighted at once, from the bones nearest to it, and the editor says so: "Arm follows 2 bones now — drag one to see it move, or pick a bone to see what it holds." Binding is one step to undo.
Weights
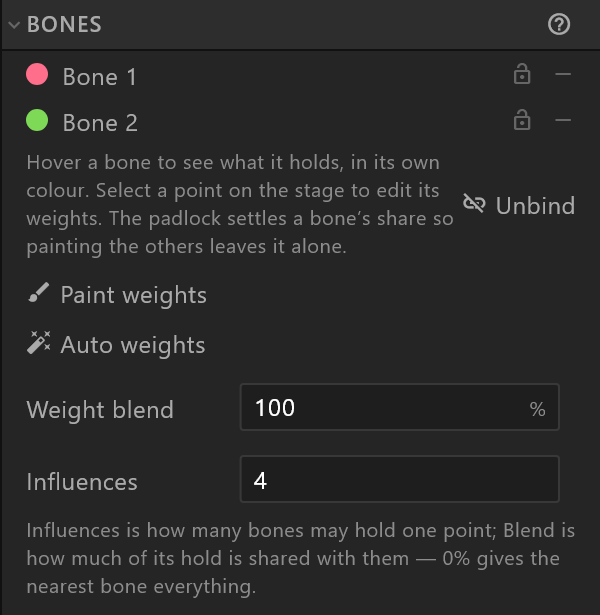
Once bound, the Bones section lists the shape's bones, each with its own colour — the colour it is drawn in on the stage.
- Hover a bone and every point is tinted by how much that bone holds it. A bad weight shows at a glance, without dragging anything.
- Select a point on the stage and each bone shows its percentage of that point. Type to change one; together they always make 100%.
- The padlock settles a bone's share: painting the others then takes from the rest, not from this one.
- − takes one bone out of the binding. Unbind removes it altogether: the shape stops following the bones.
Painting
Paint weights turns the pointer into a brush for the chosen bone: drag over the artwork to grow that bone's hold, and hold Alt to erase. Click another bone in the list to paint for that one. Done painting (or Esc) stops.
While painting, every point shows its bones' colours mixed by how much each holds it, so a seam between two bones reads as the fade between their colours.
| Control | What it does |
|---|---|
| Brush size | In pixels. [ and ] change it without leaving the stage |
| Strength | How much one stroke adds. Shift+[ and Shift+] change it |
| Smooth | For a mesh: relaxes its inside points toward their average. The outline stays where it is |
Starting again
Auto weights works every weight out again from the bones — replacing what the brush painted, in one undo step. Two settings shape it:
| Setting | What it does |
|---|---|
| Weight blend | How much of a point's hold is shared with the next bones. 0% gives the nearest bone everything; higher is softer at the joints |
| Influences | How many bones may hold one point |