
Designing augmented reality graphics in the camera's own picture
Augmented reality graphics are often designed against a still frame and judged for the first time on air. airZ Editor puts the camera's live picture behind the 3D on its stage and follows the camera's exposure and white balance, so the designer sees the graphic the way the audience will, while building it.
 1. Put the camera behind the 3D
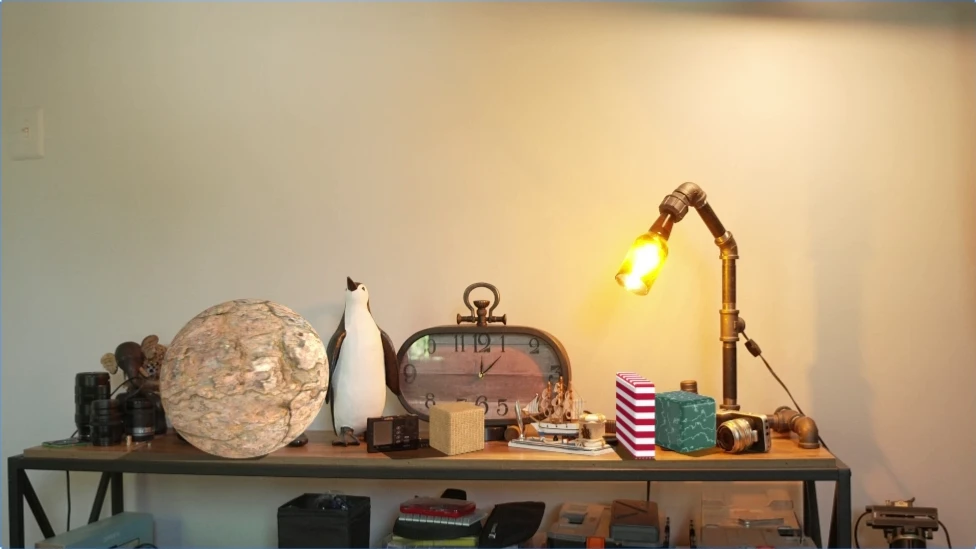
Select the tracked camera in the 3D scene. Its Tracking section has the controls. Show the camera behind the 3D places a full-frame picture behind the 3D, and Camera picture chooses what fills it: a capture input on the editing computer, or a recorded clip. The camera's live picture now fills the stage, and the 3D is drawn over it.
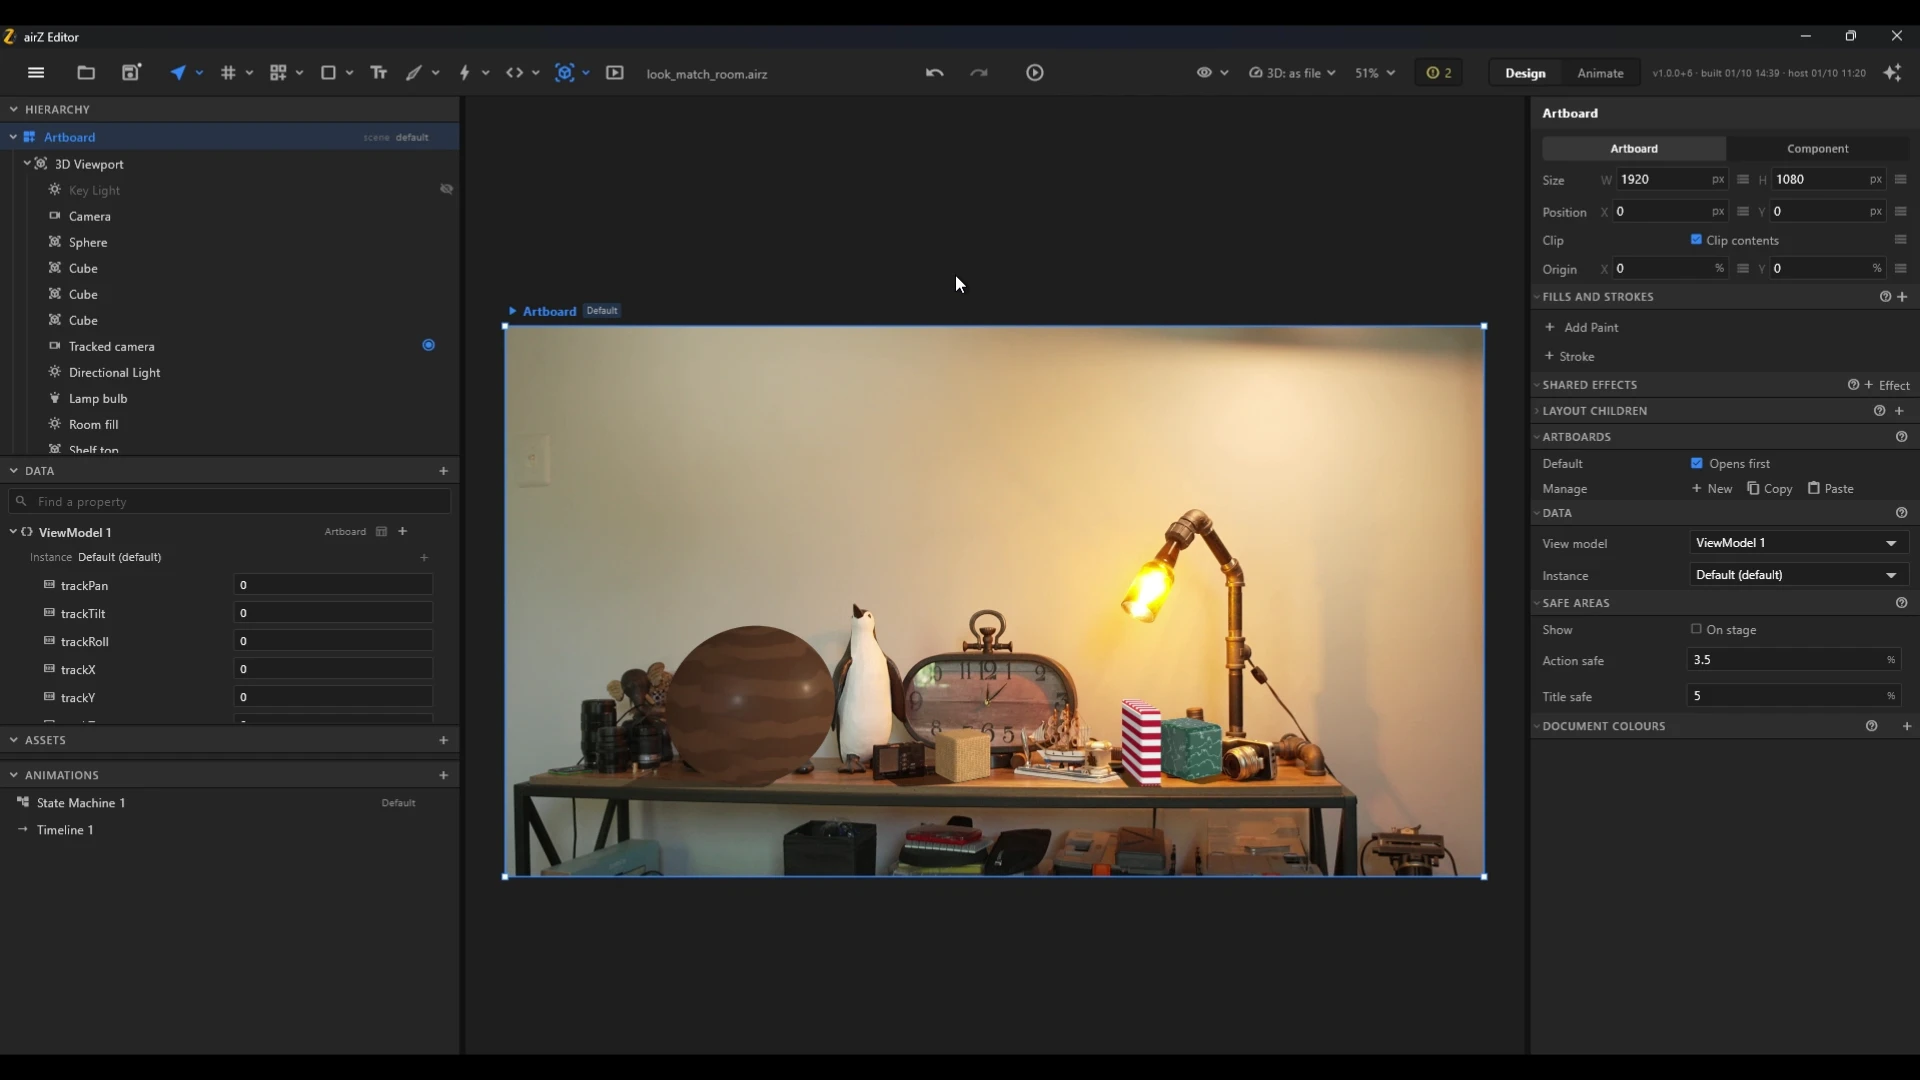
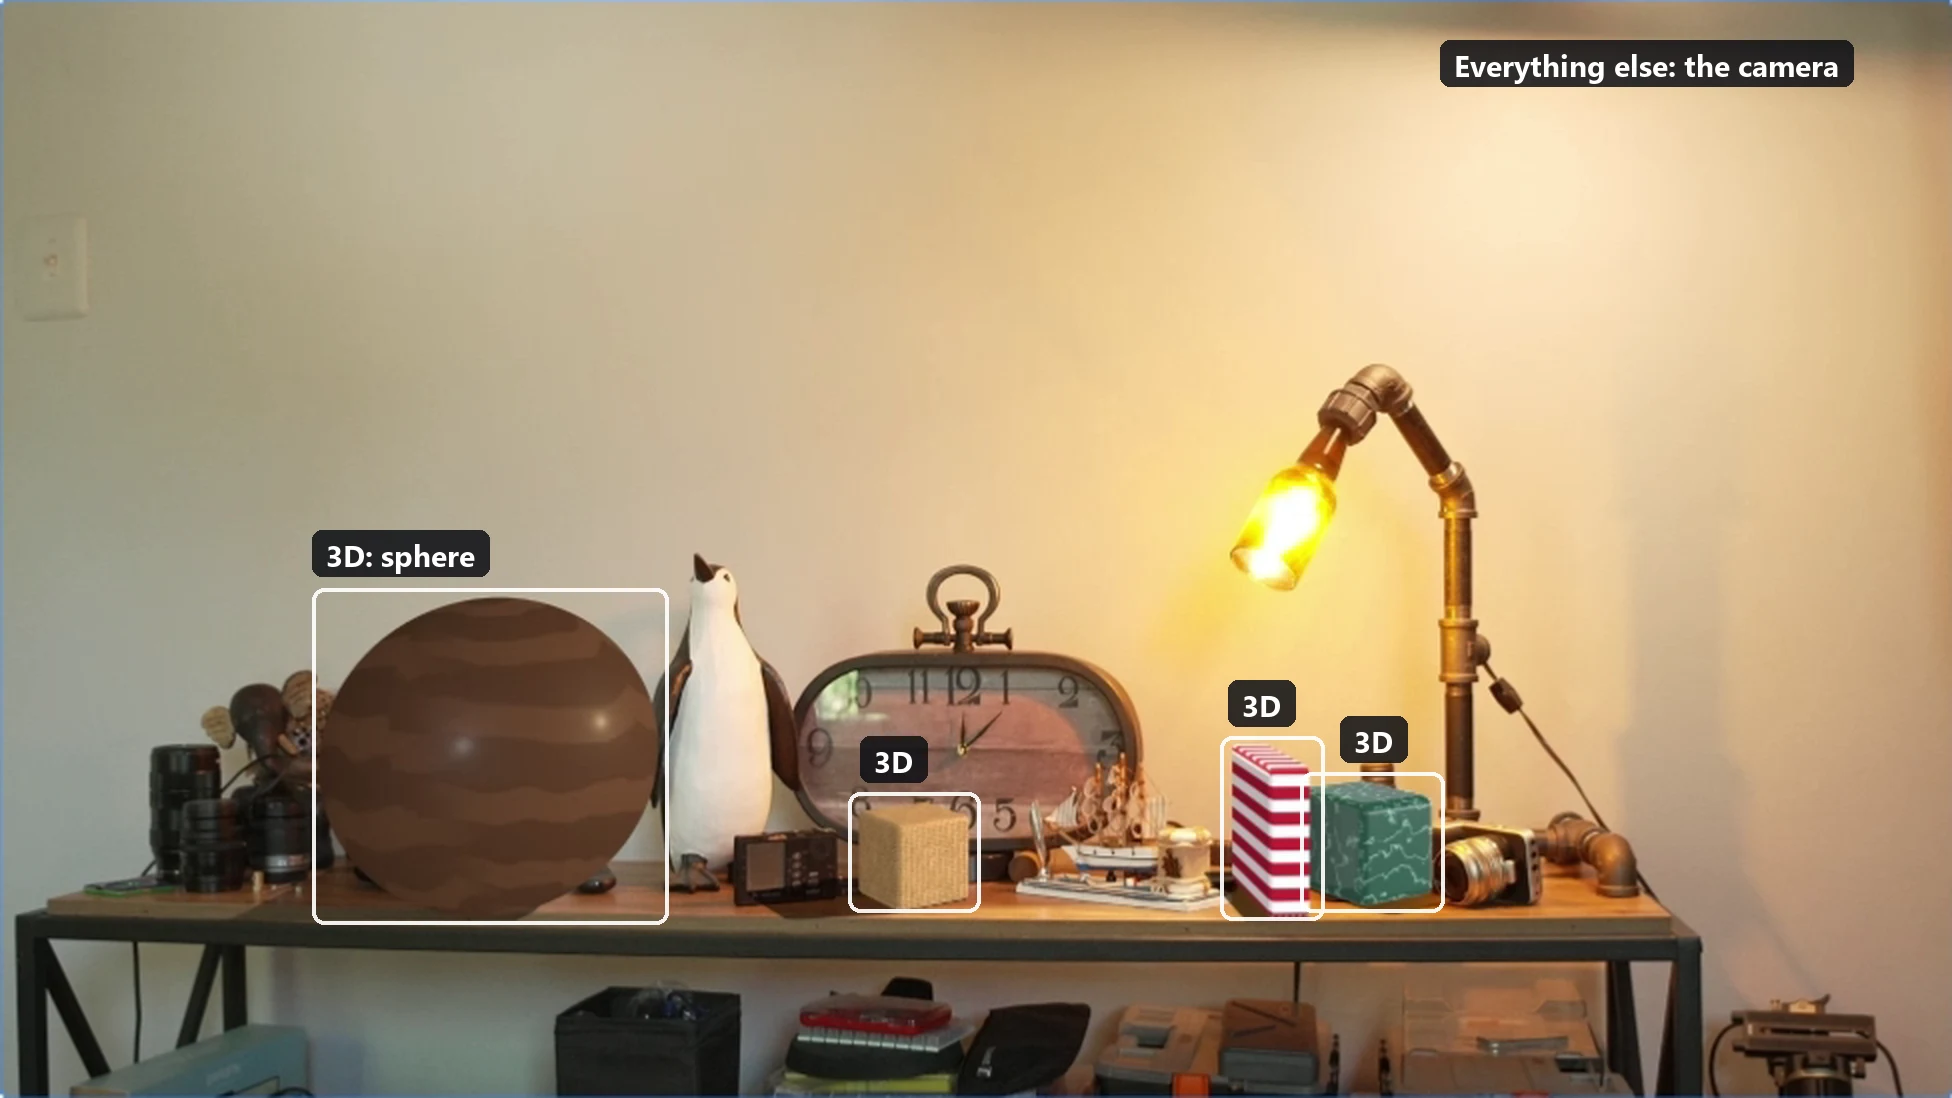
The 3D is placed in the room's own measurements and lit like the room. In this scene a warm light sits where the shelf lamp's bulb is, so the 3D objects take their light from the same side as the real ones.
2. Mark the shot as normal
When the shot looks right, with the camera at its usual exposure, press Mark as normal. That moment becomes the reference: from then on, the 3D follows the differences between the camera's picture and that moment.
3. Change the camera, and the 3D follows
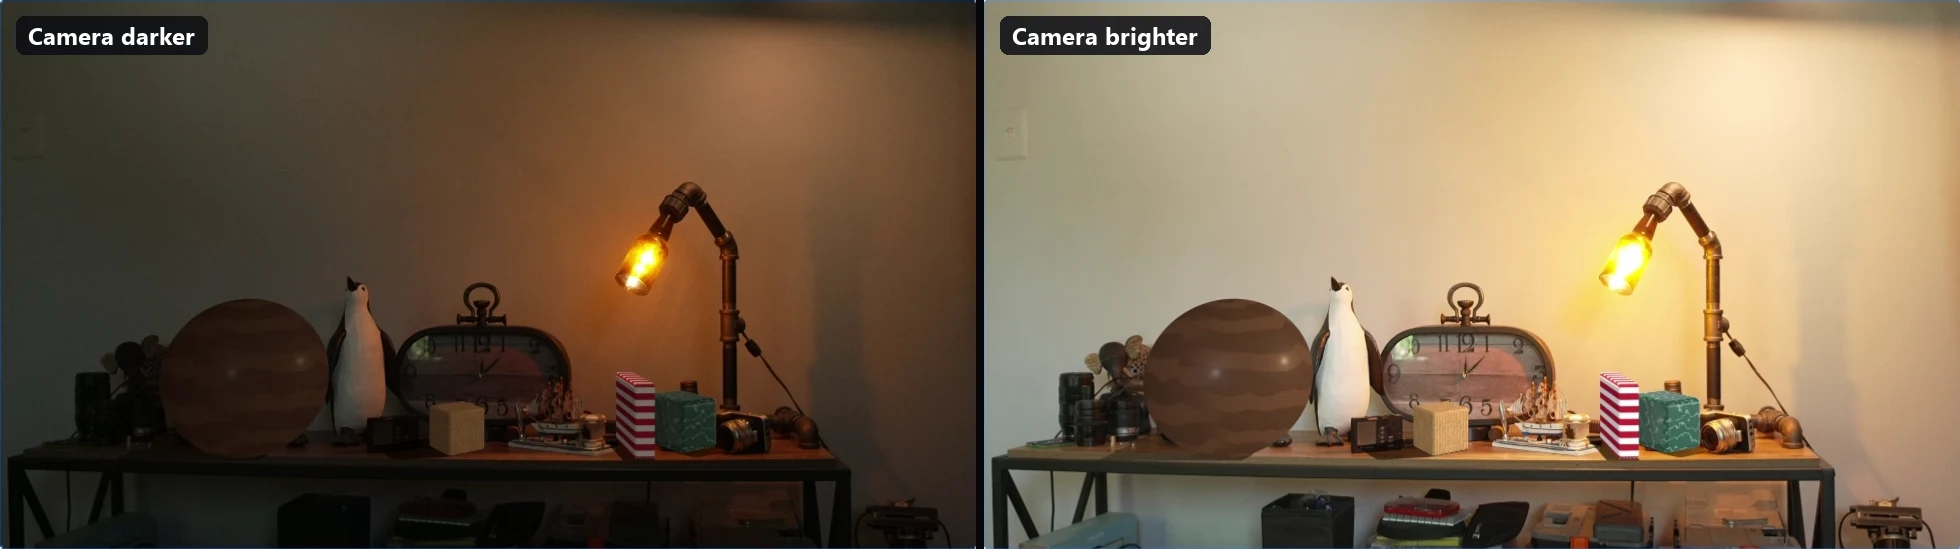
Open the iris, change the shutter, gain or ND, and the 3D gets brighter or darker with the picture. Change the white balance, and it gets warmer or cooler. The editor reads all of this from the camera's picture, live. The Tracking section says what it is following, for example "Following the camera: 1 stop brighter, same colour." Stop following puts the 3D back as designed. The document itself never changes.
4. Choose materials in the shot
Because the 3D is seen in the real picture, choosing a material is a decision made in context. Select an object and open A new material from a look: the library shows each material as a ball, and photo-scanned materials such as stone, sand and bark sit beside the plain ones.
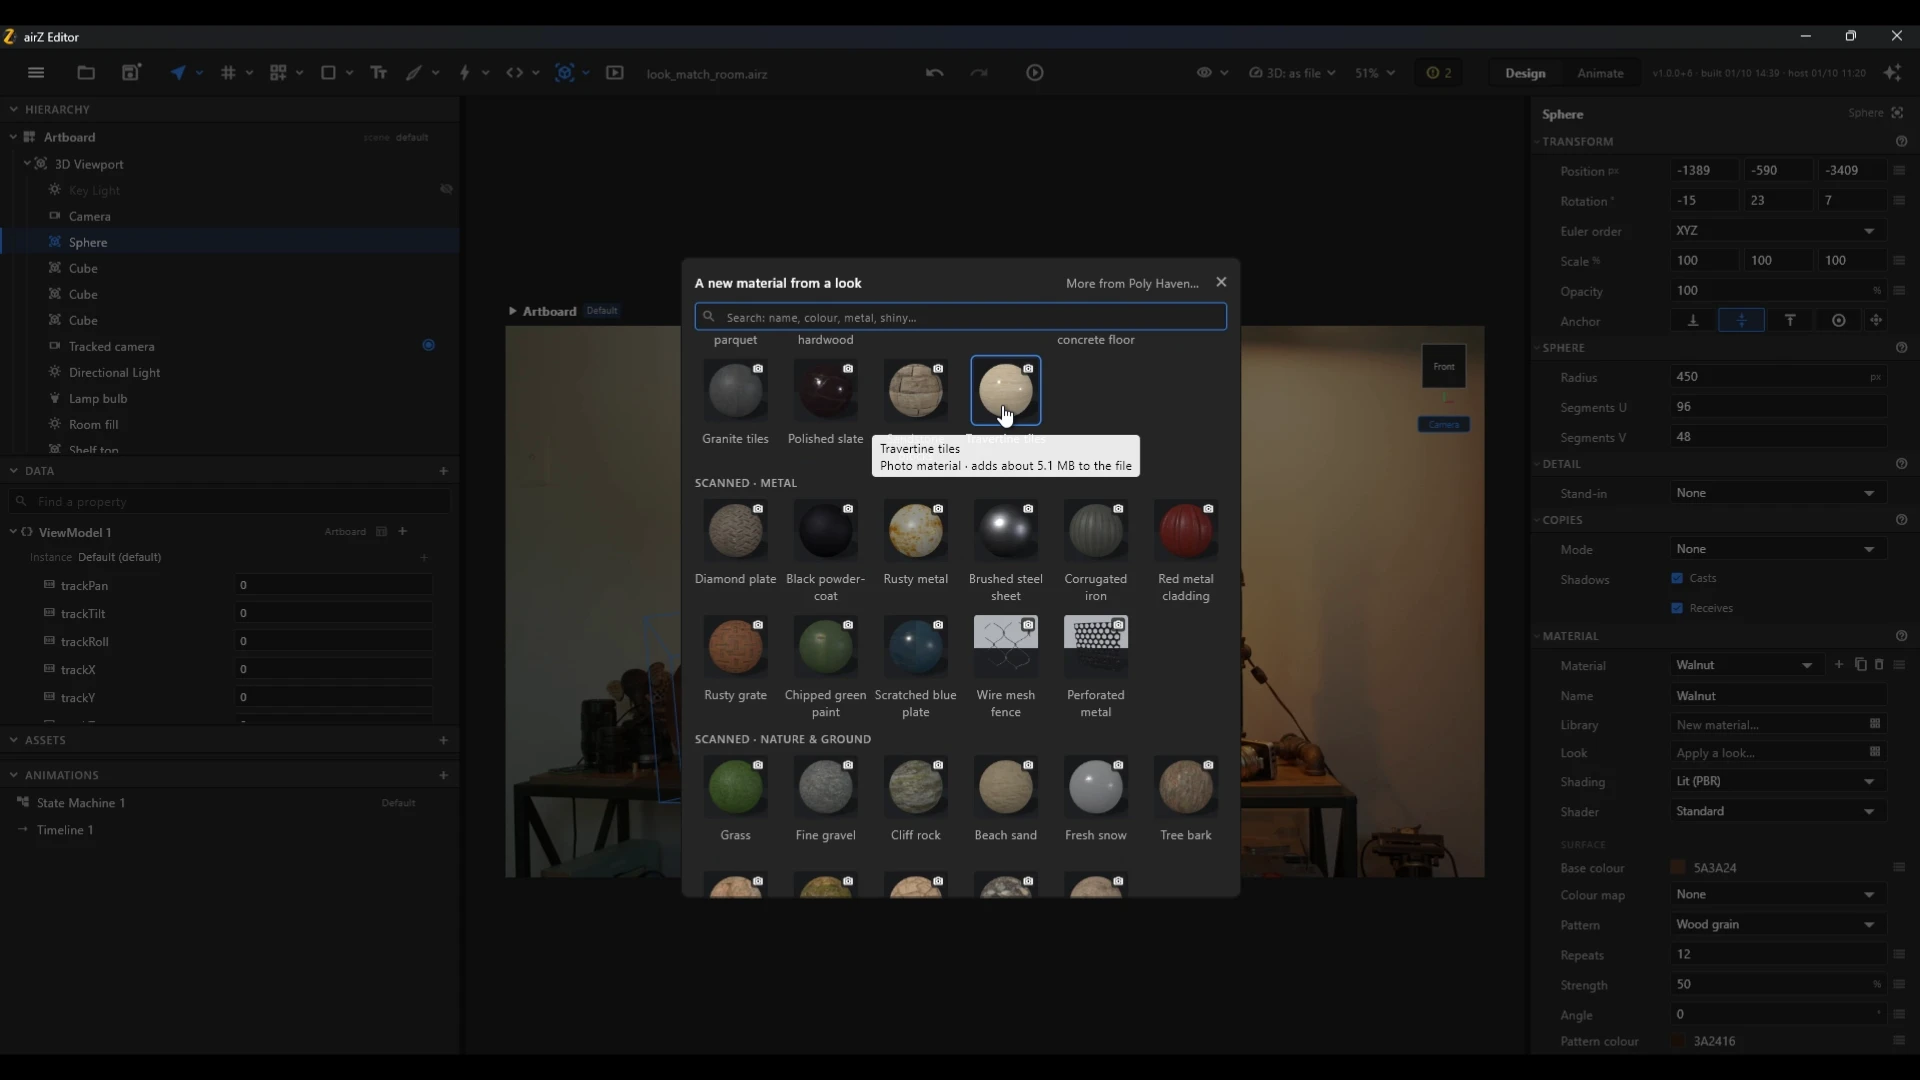
A new material is matched to the camera at once. The look adjustment is applied to everything the 3D draws, at the end of every frame, so there is nothing to apply again and the reference stays as it was set.
 5. On air, airZ Engine does it
Nothing the editor reads is saved into the document. On air, airZ Engine measures the camera itself, from a clean feed of its picture, and applies the same kind of adjustment to the same document, adding the black level. The editor is where the graphic is designed and checked; airZ Engine is where it follows the camera for real. How airZ Engine matches the camera explains the method.
Good to know
- A camera that holds its shot. The editor's reading is made for a locked-off camera. A pan, or something large moving through the frame, reads as a change of look.
- Two stops either way. The editor follows up to two stops brighter or darker than the moment marked as normal. Mark it at a middle exposure.
- Black level on air only. airZ Engine follows the camera's black level; the editor does not.
- A picture that is mostly clipped or black cannot be read; the editor keeps its last reading and the Tracking section says so.
- One program per input. On one computer, a capture input can be open in airZ Editor or in airZ Engine, not in both at once.
- Shadows on real surfaces need shadow catchers placed where the real surfaces are, and traced shadows. The editor shows them where its preview is ray traced, and airZ Engine where ray tracing is available on air.
Step by step, with every control: camera tracking in the airZ Editor manual. To see it with your own camera, request a demonstration.